Setup Guide
We carfully crafted this guide helping you to deloy self-hosted runners on AWS with ease. In case you encounter any issues please schedule a setup session
or send an e-mail. We are happy to help!
1. Create subscription
HyperEnv for GitHub Actions Runner is available on the AWS Marketplace. The following steps describe how to subscribe to HyperEnv for GitHub Actions Runner.
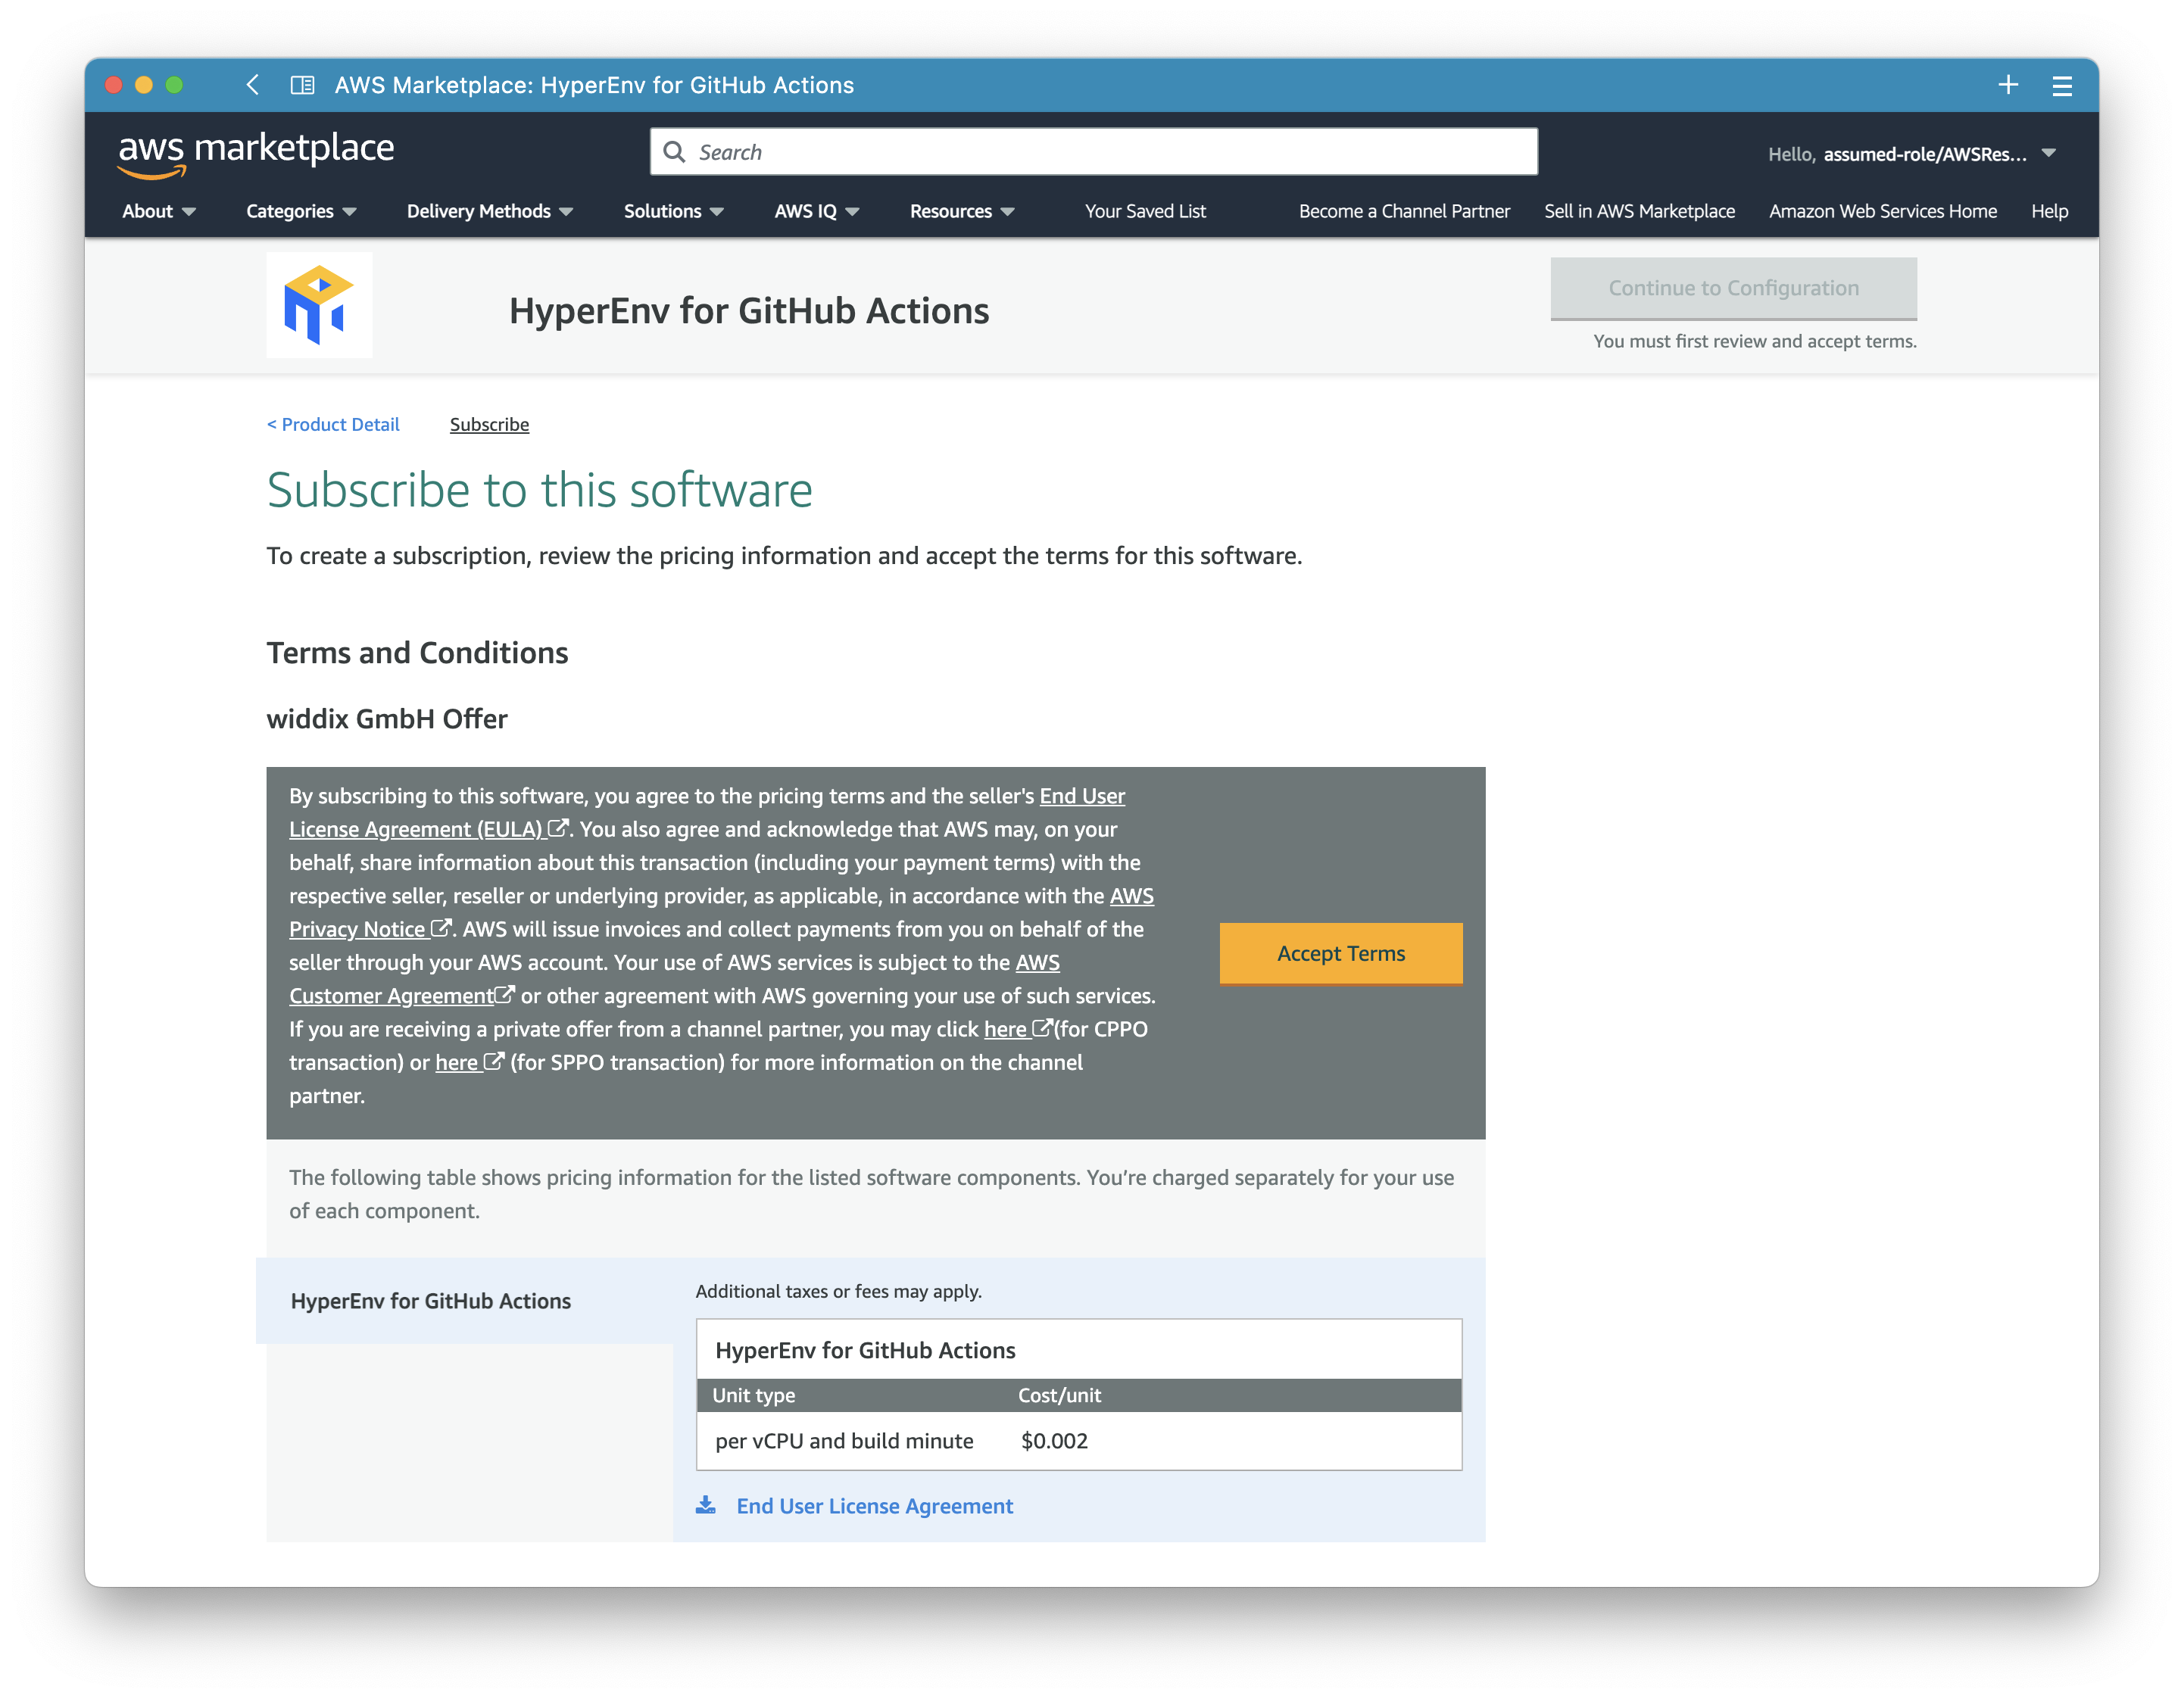
- Go to AWS Marketplace and click View purchase option.

- Read through the terms and click the Subscribe button at the bottom of the page.
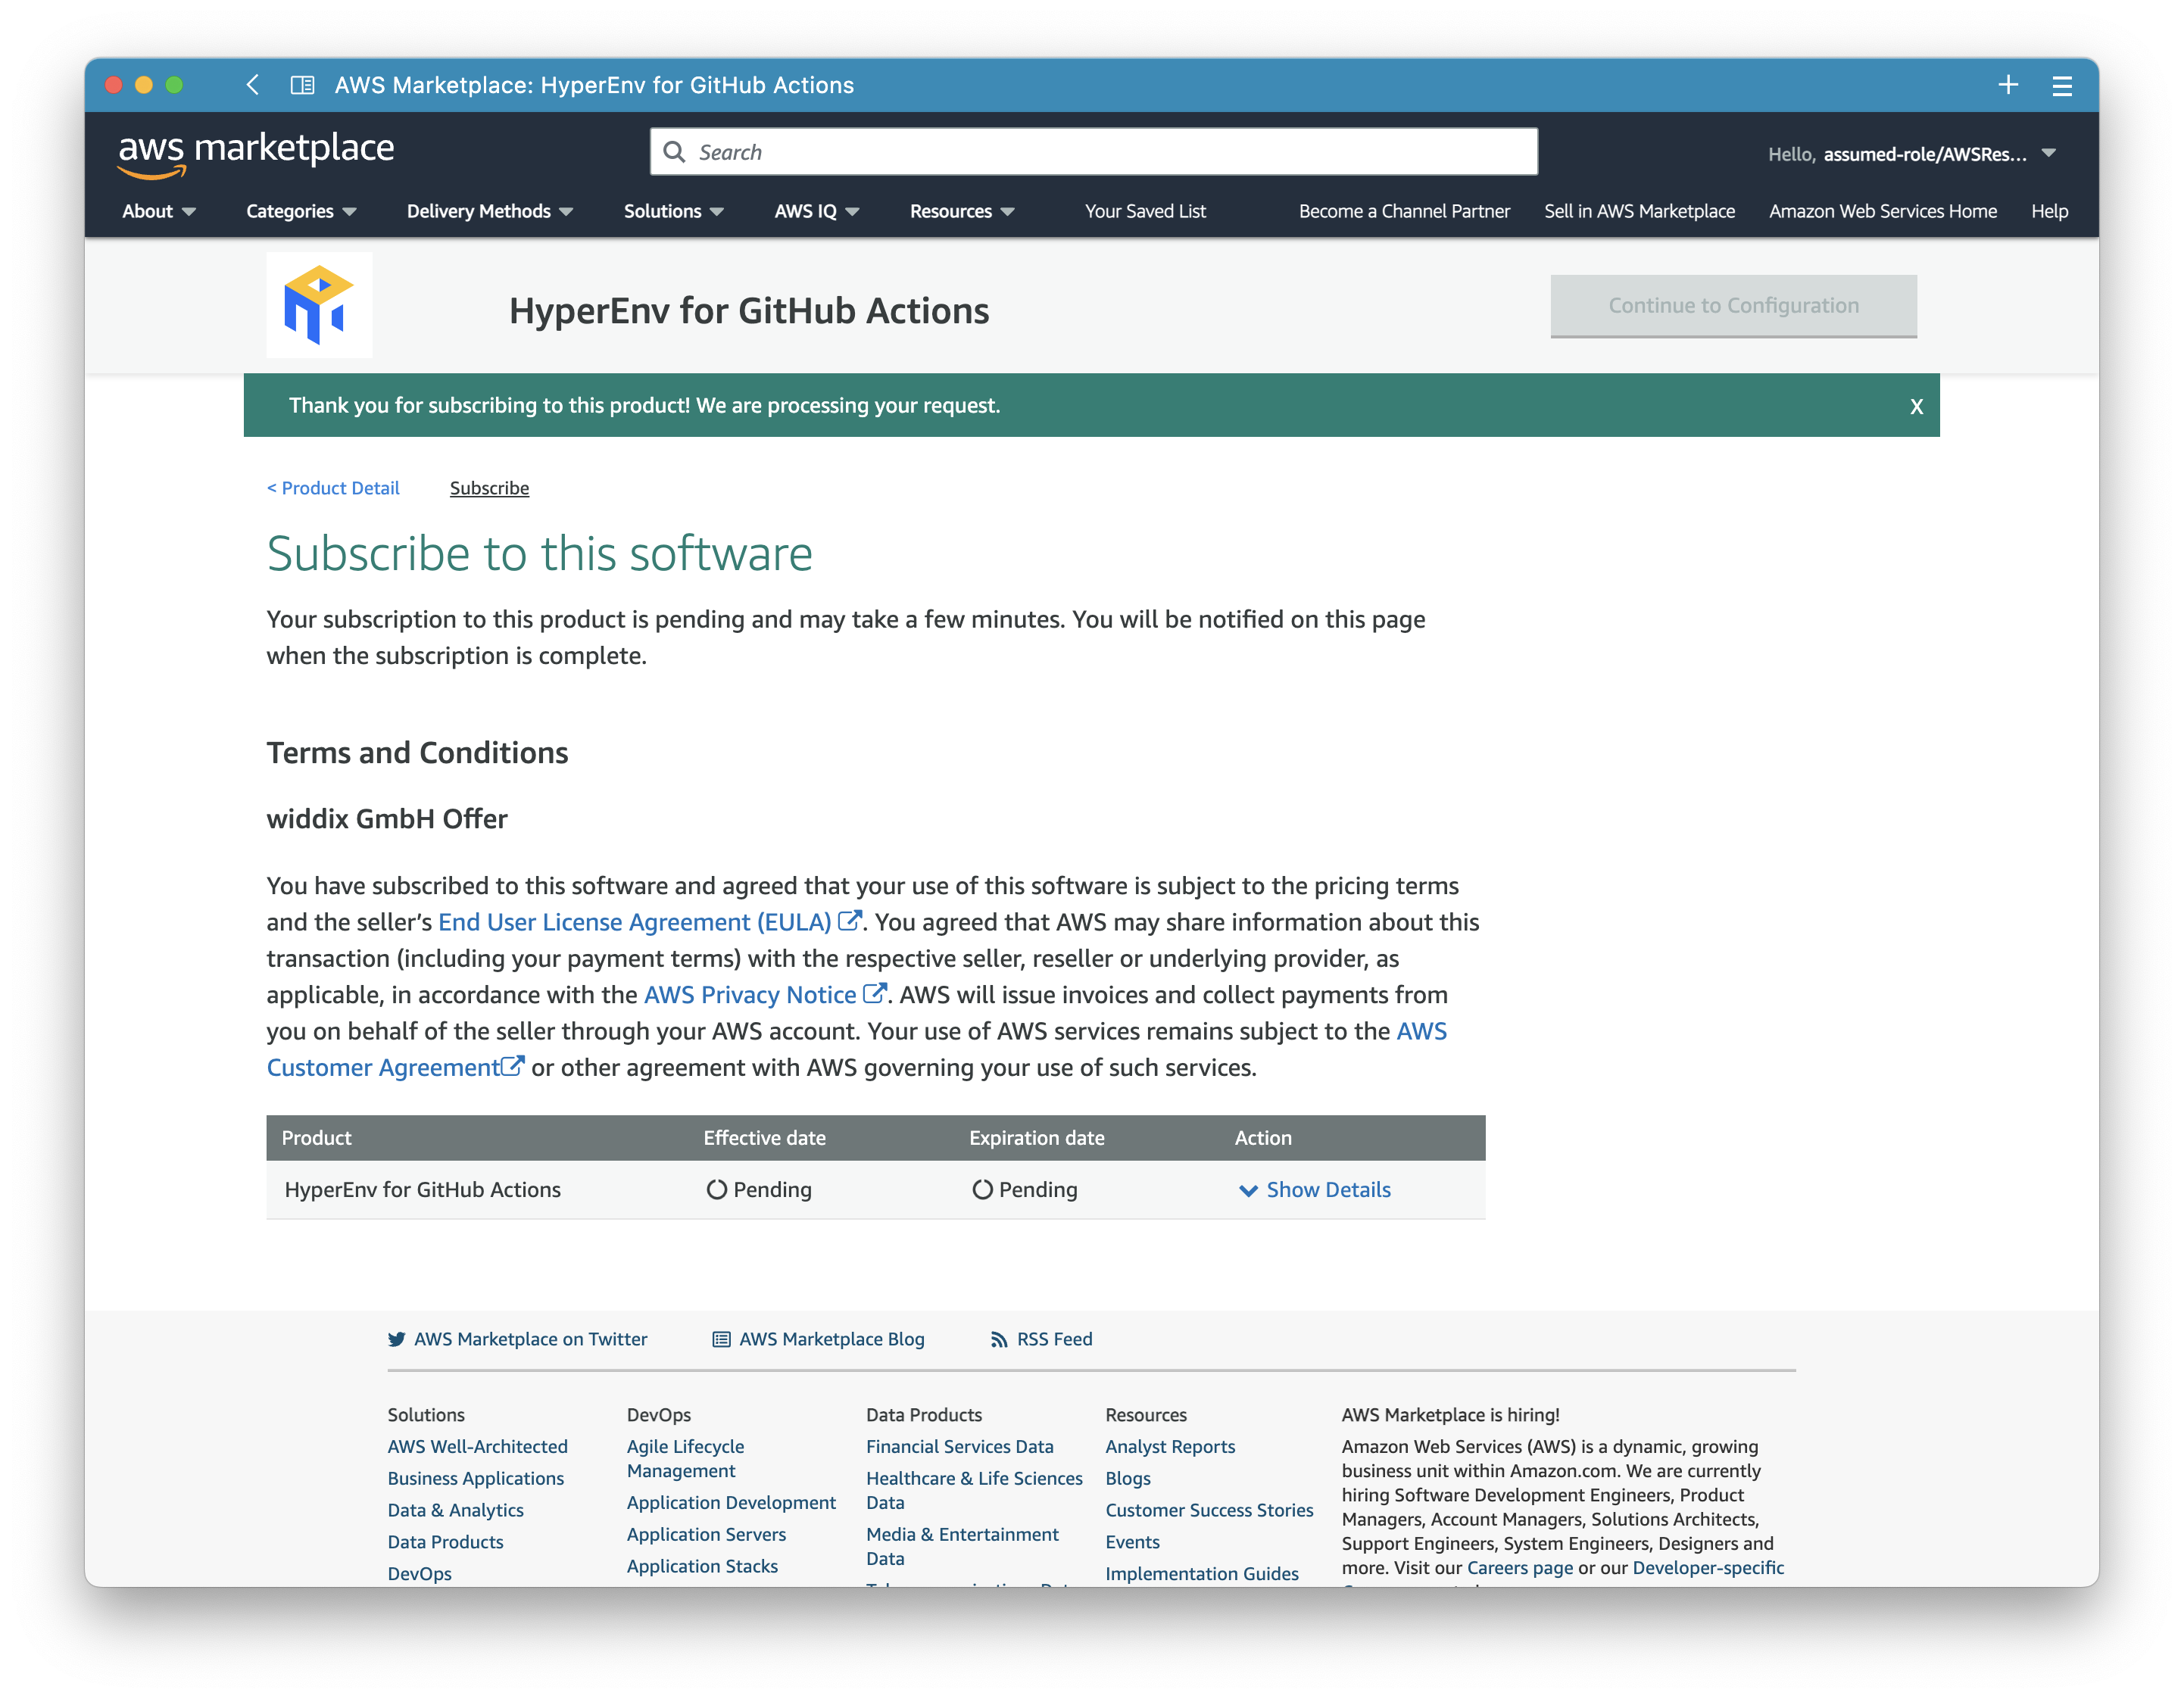
- AWS Marketpace processes the request which might take a few minutes.
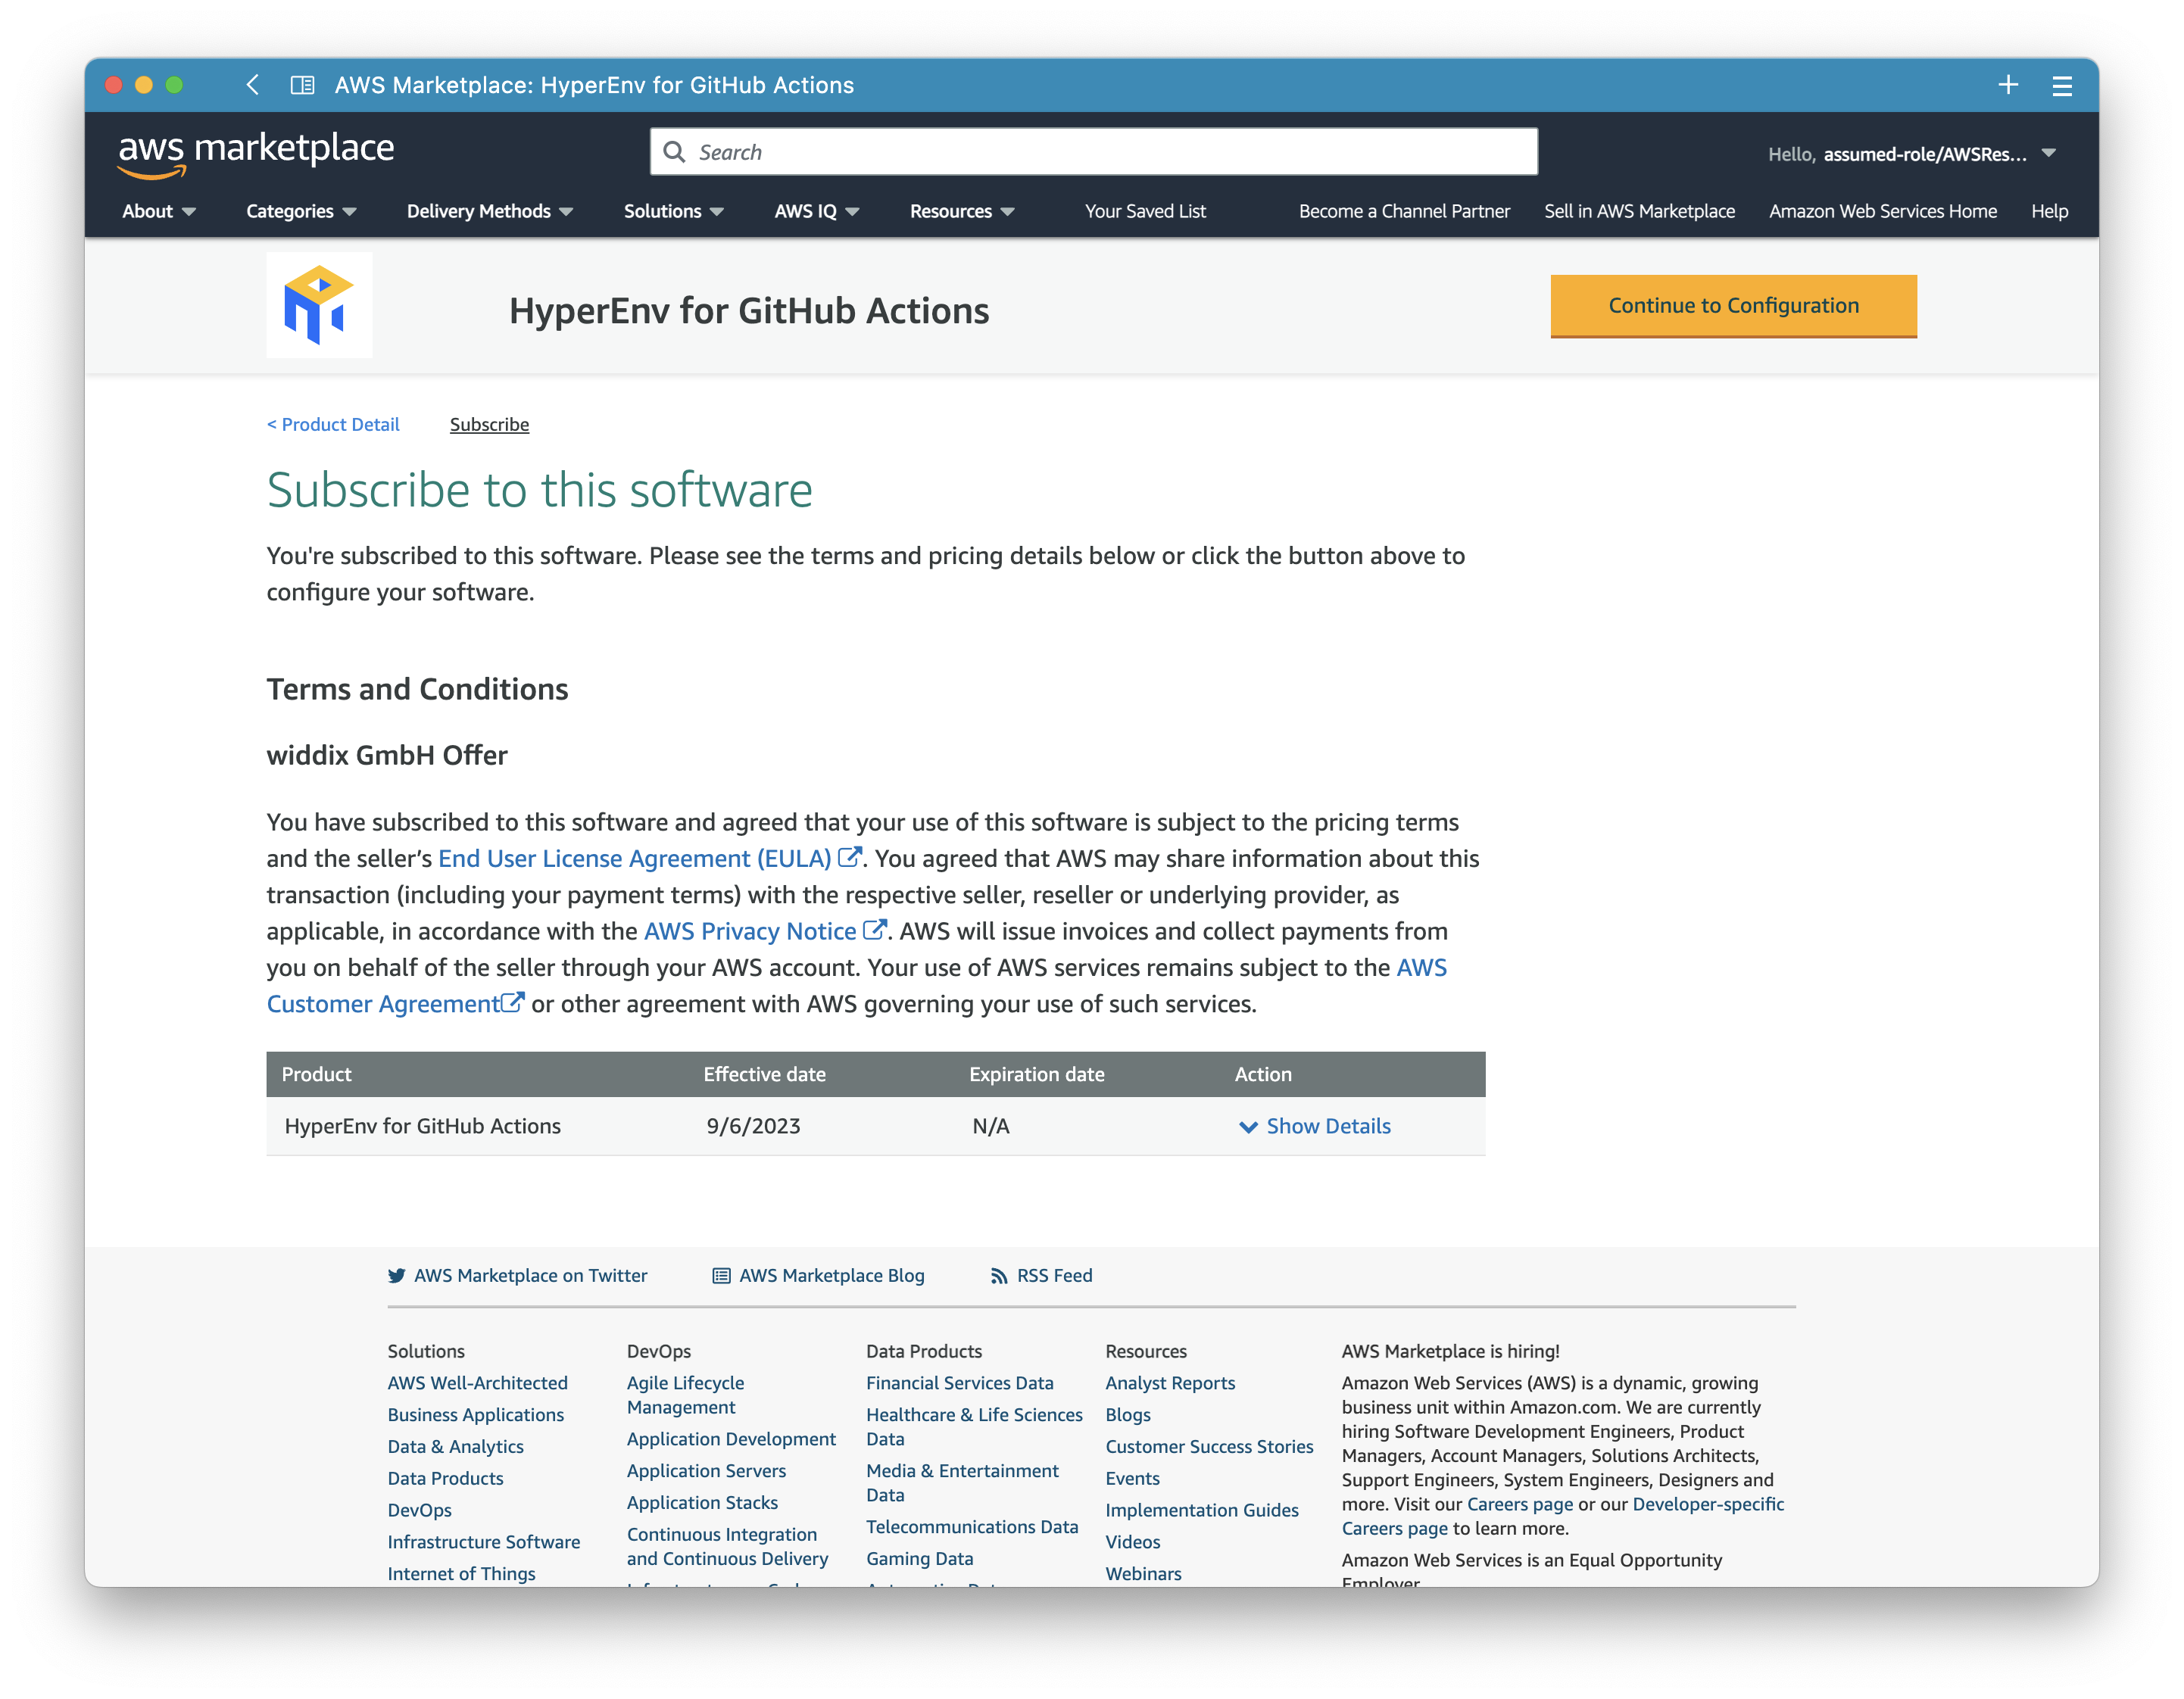
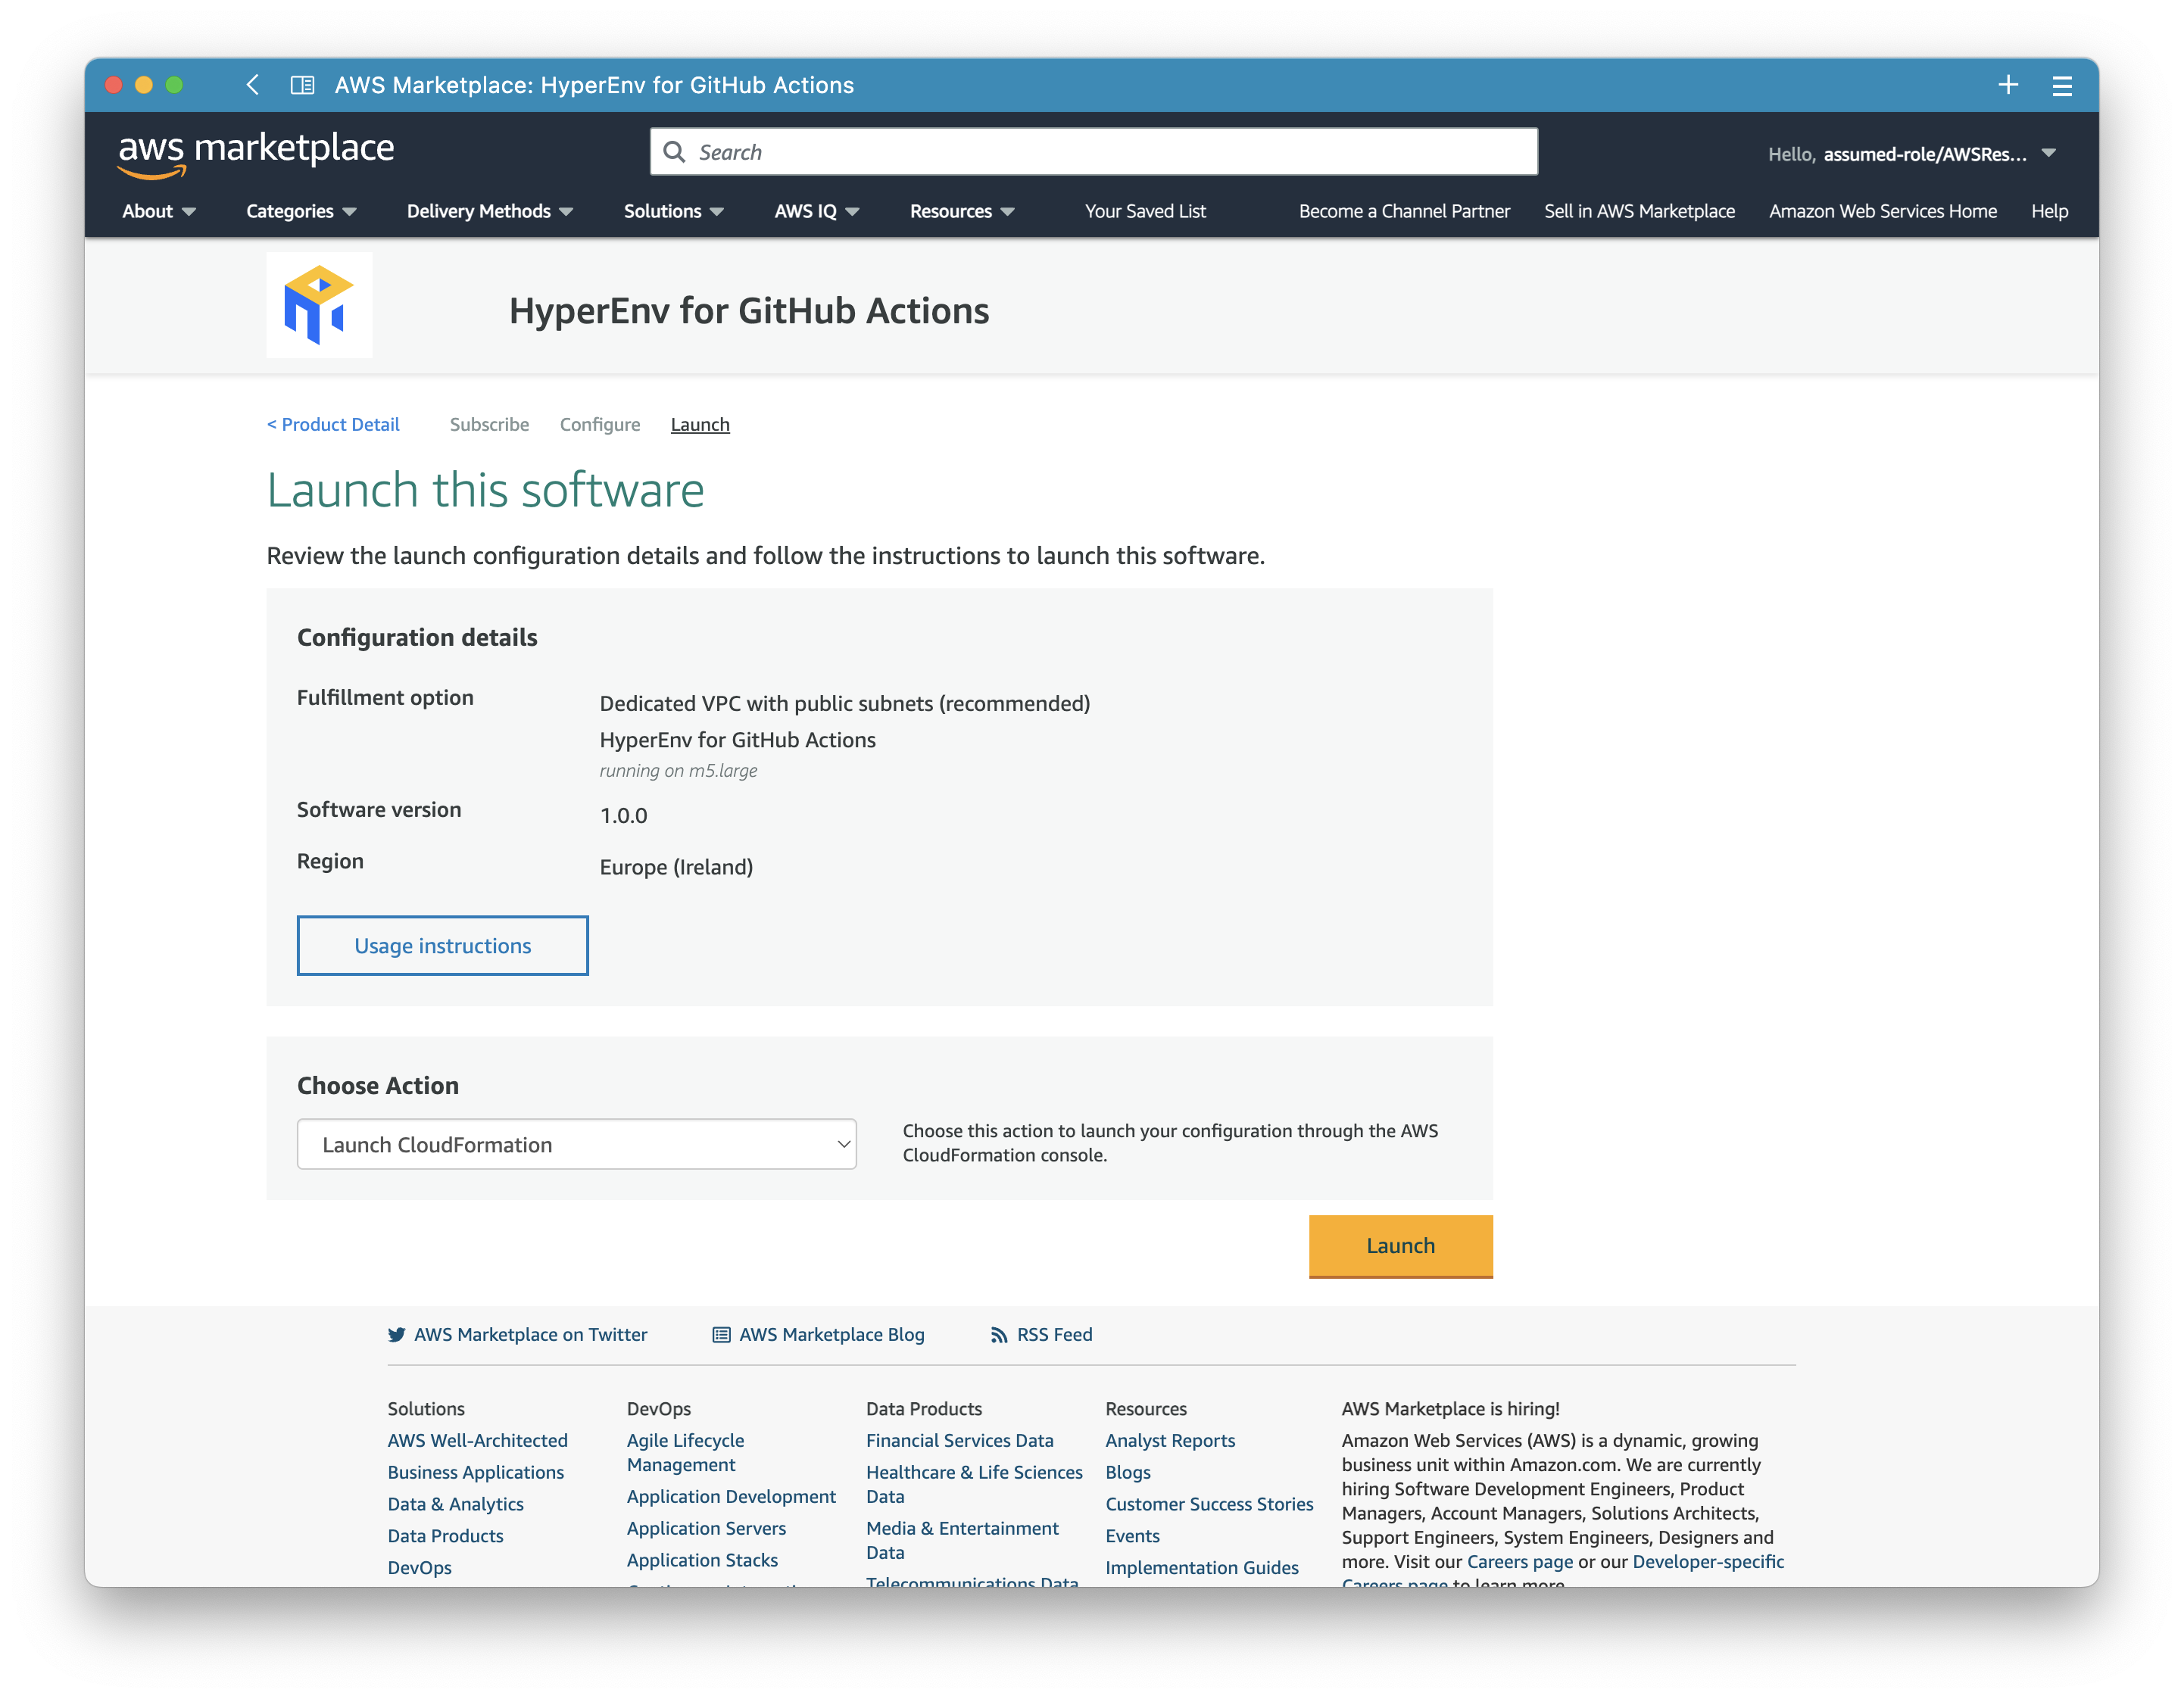
- Wait until the subscription is active and click Launch your software.
- Select AWS CloudFormation as launch method. Keep the latest version.Choose a CloudFormation template. We recommend to choose the Dedicate VPC with public subnets option. Alternatively, select Existing VPC to launch the runners into exsisting subnets, allowing you to connect with internal systems (e.g., RDS).Select the region where you want to deploy HyperEnv.
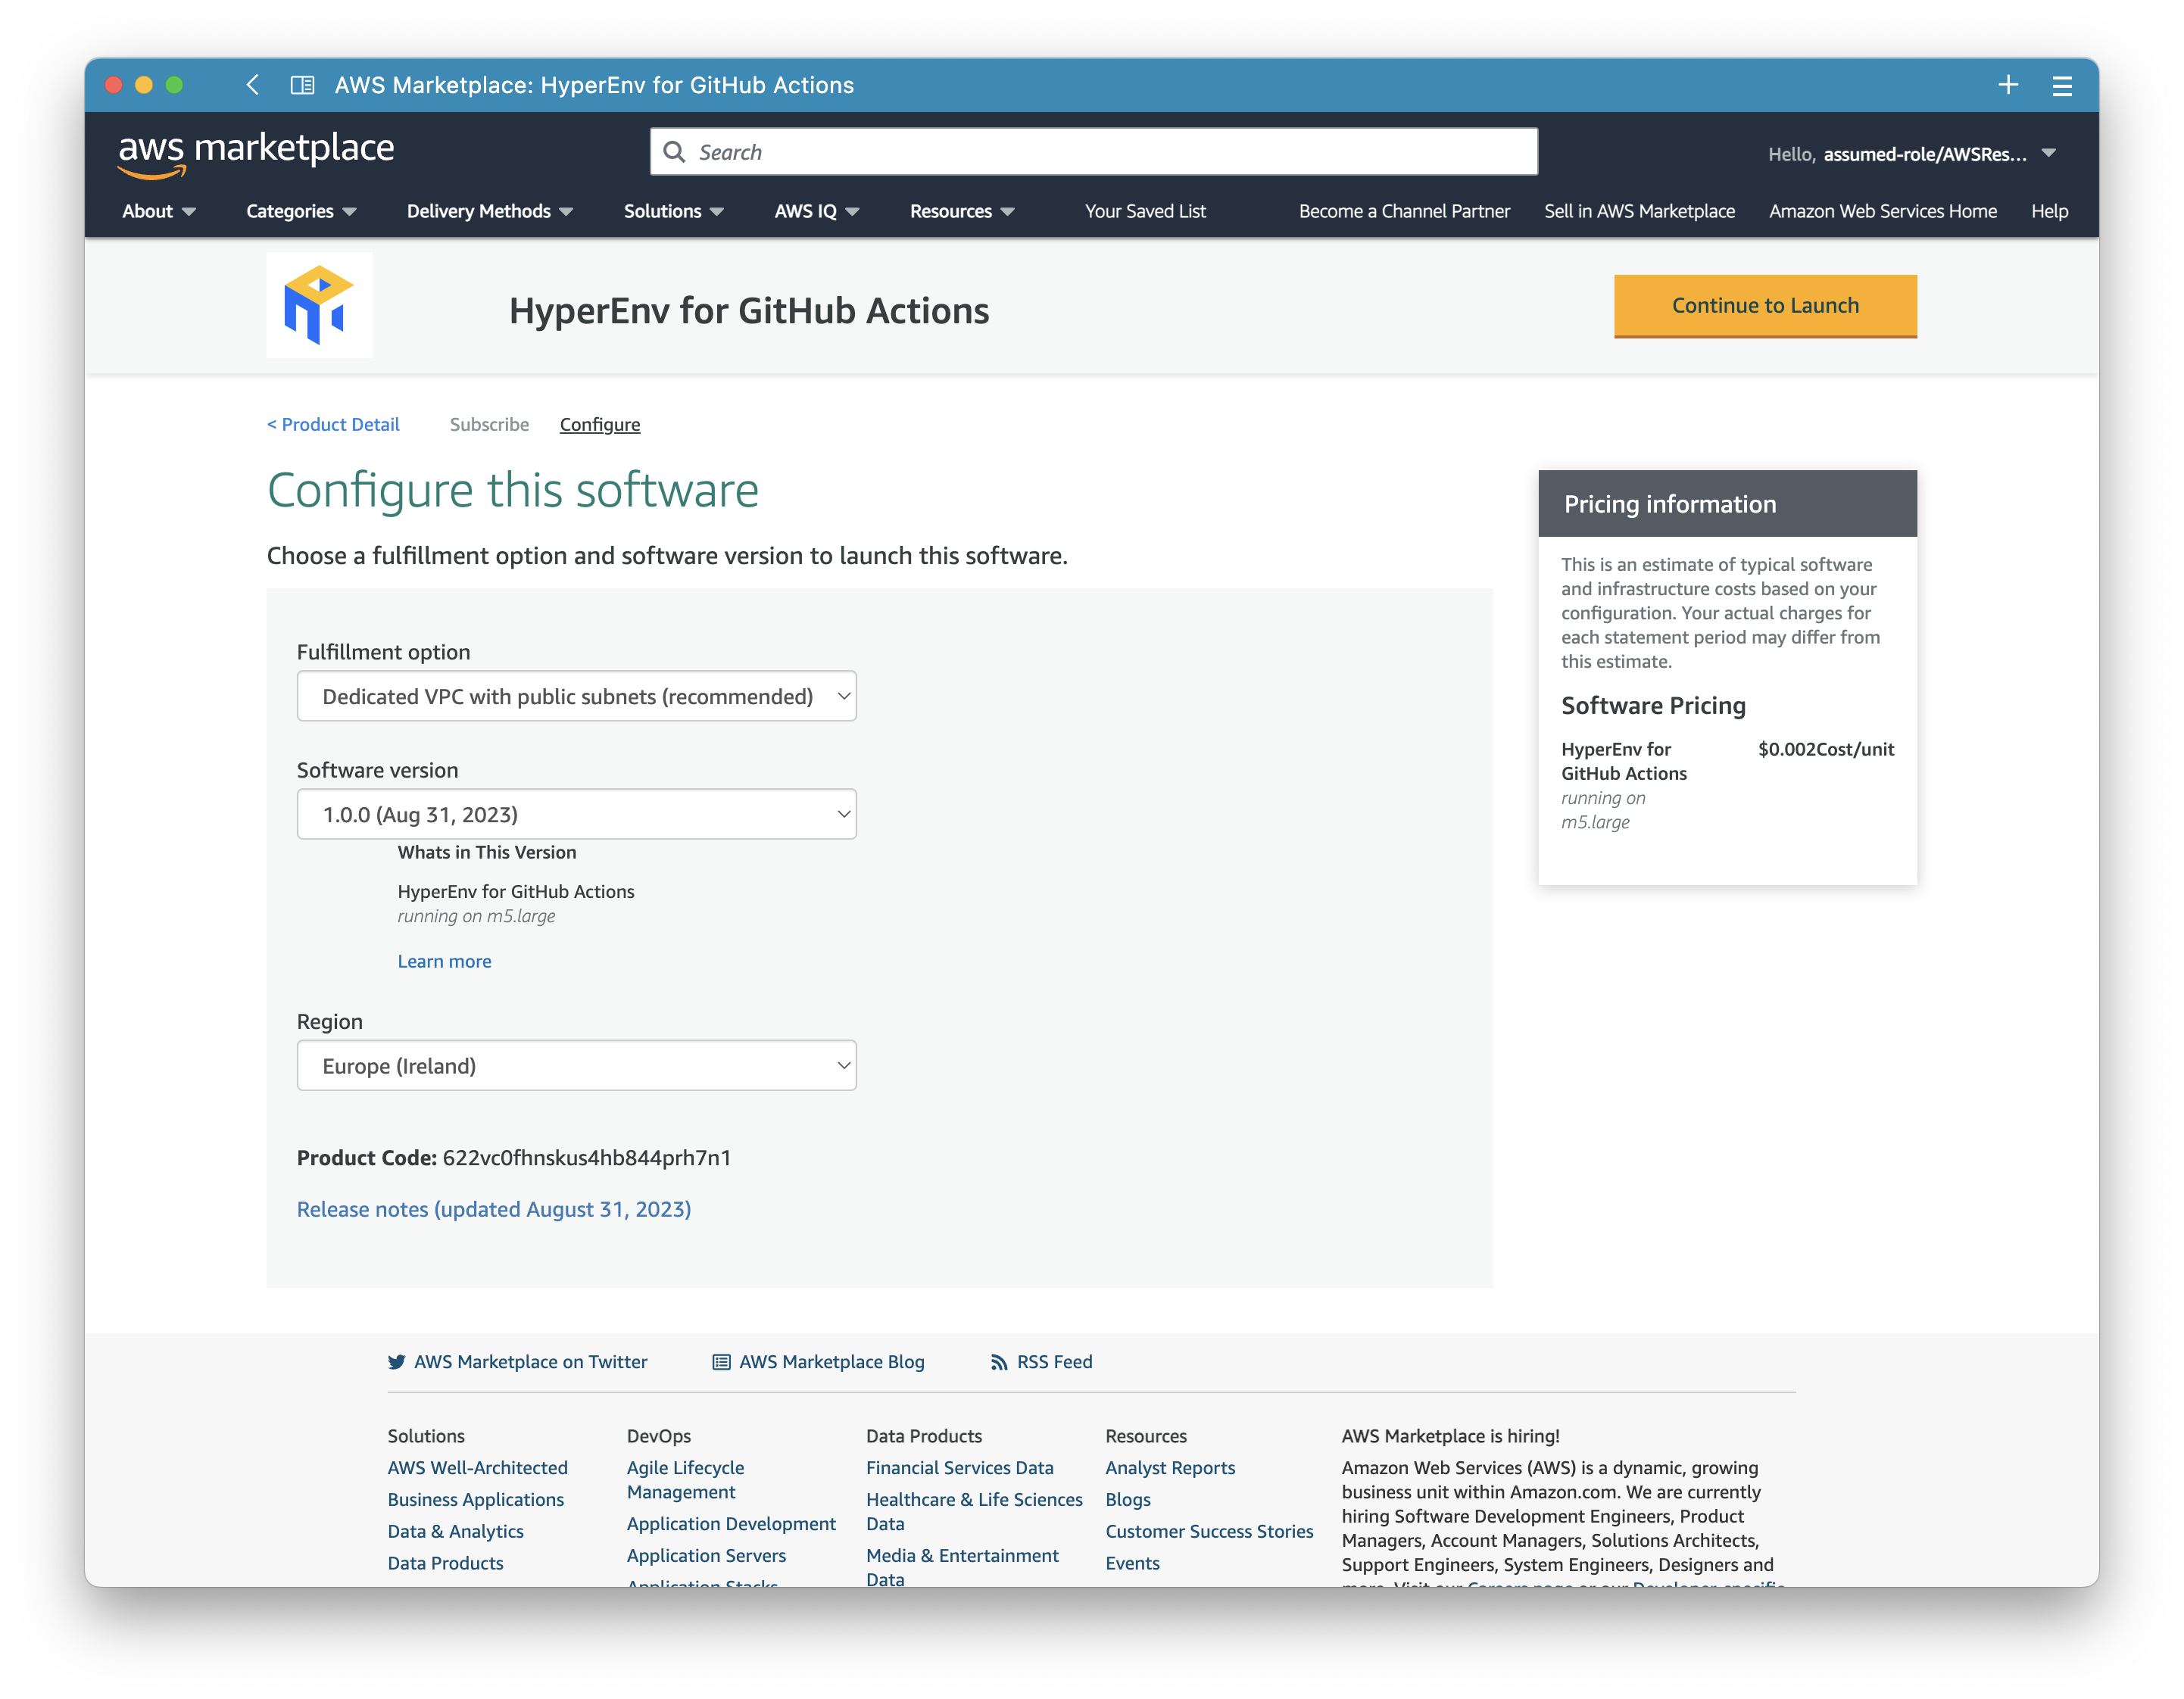
- Press the Launch with CloudFormation button.
- You are getting redirected to CloudFormation.
2. Launch with CloudFormation
We provide a CloudFormation template that spins up and configures all the releveant AWS resources - EC2 instances, security groups, an API gateway, Lambda functions, and many more - for you in an automated way.
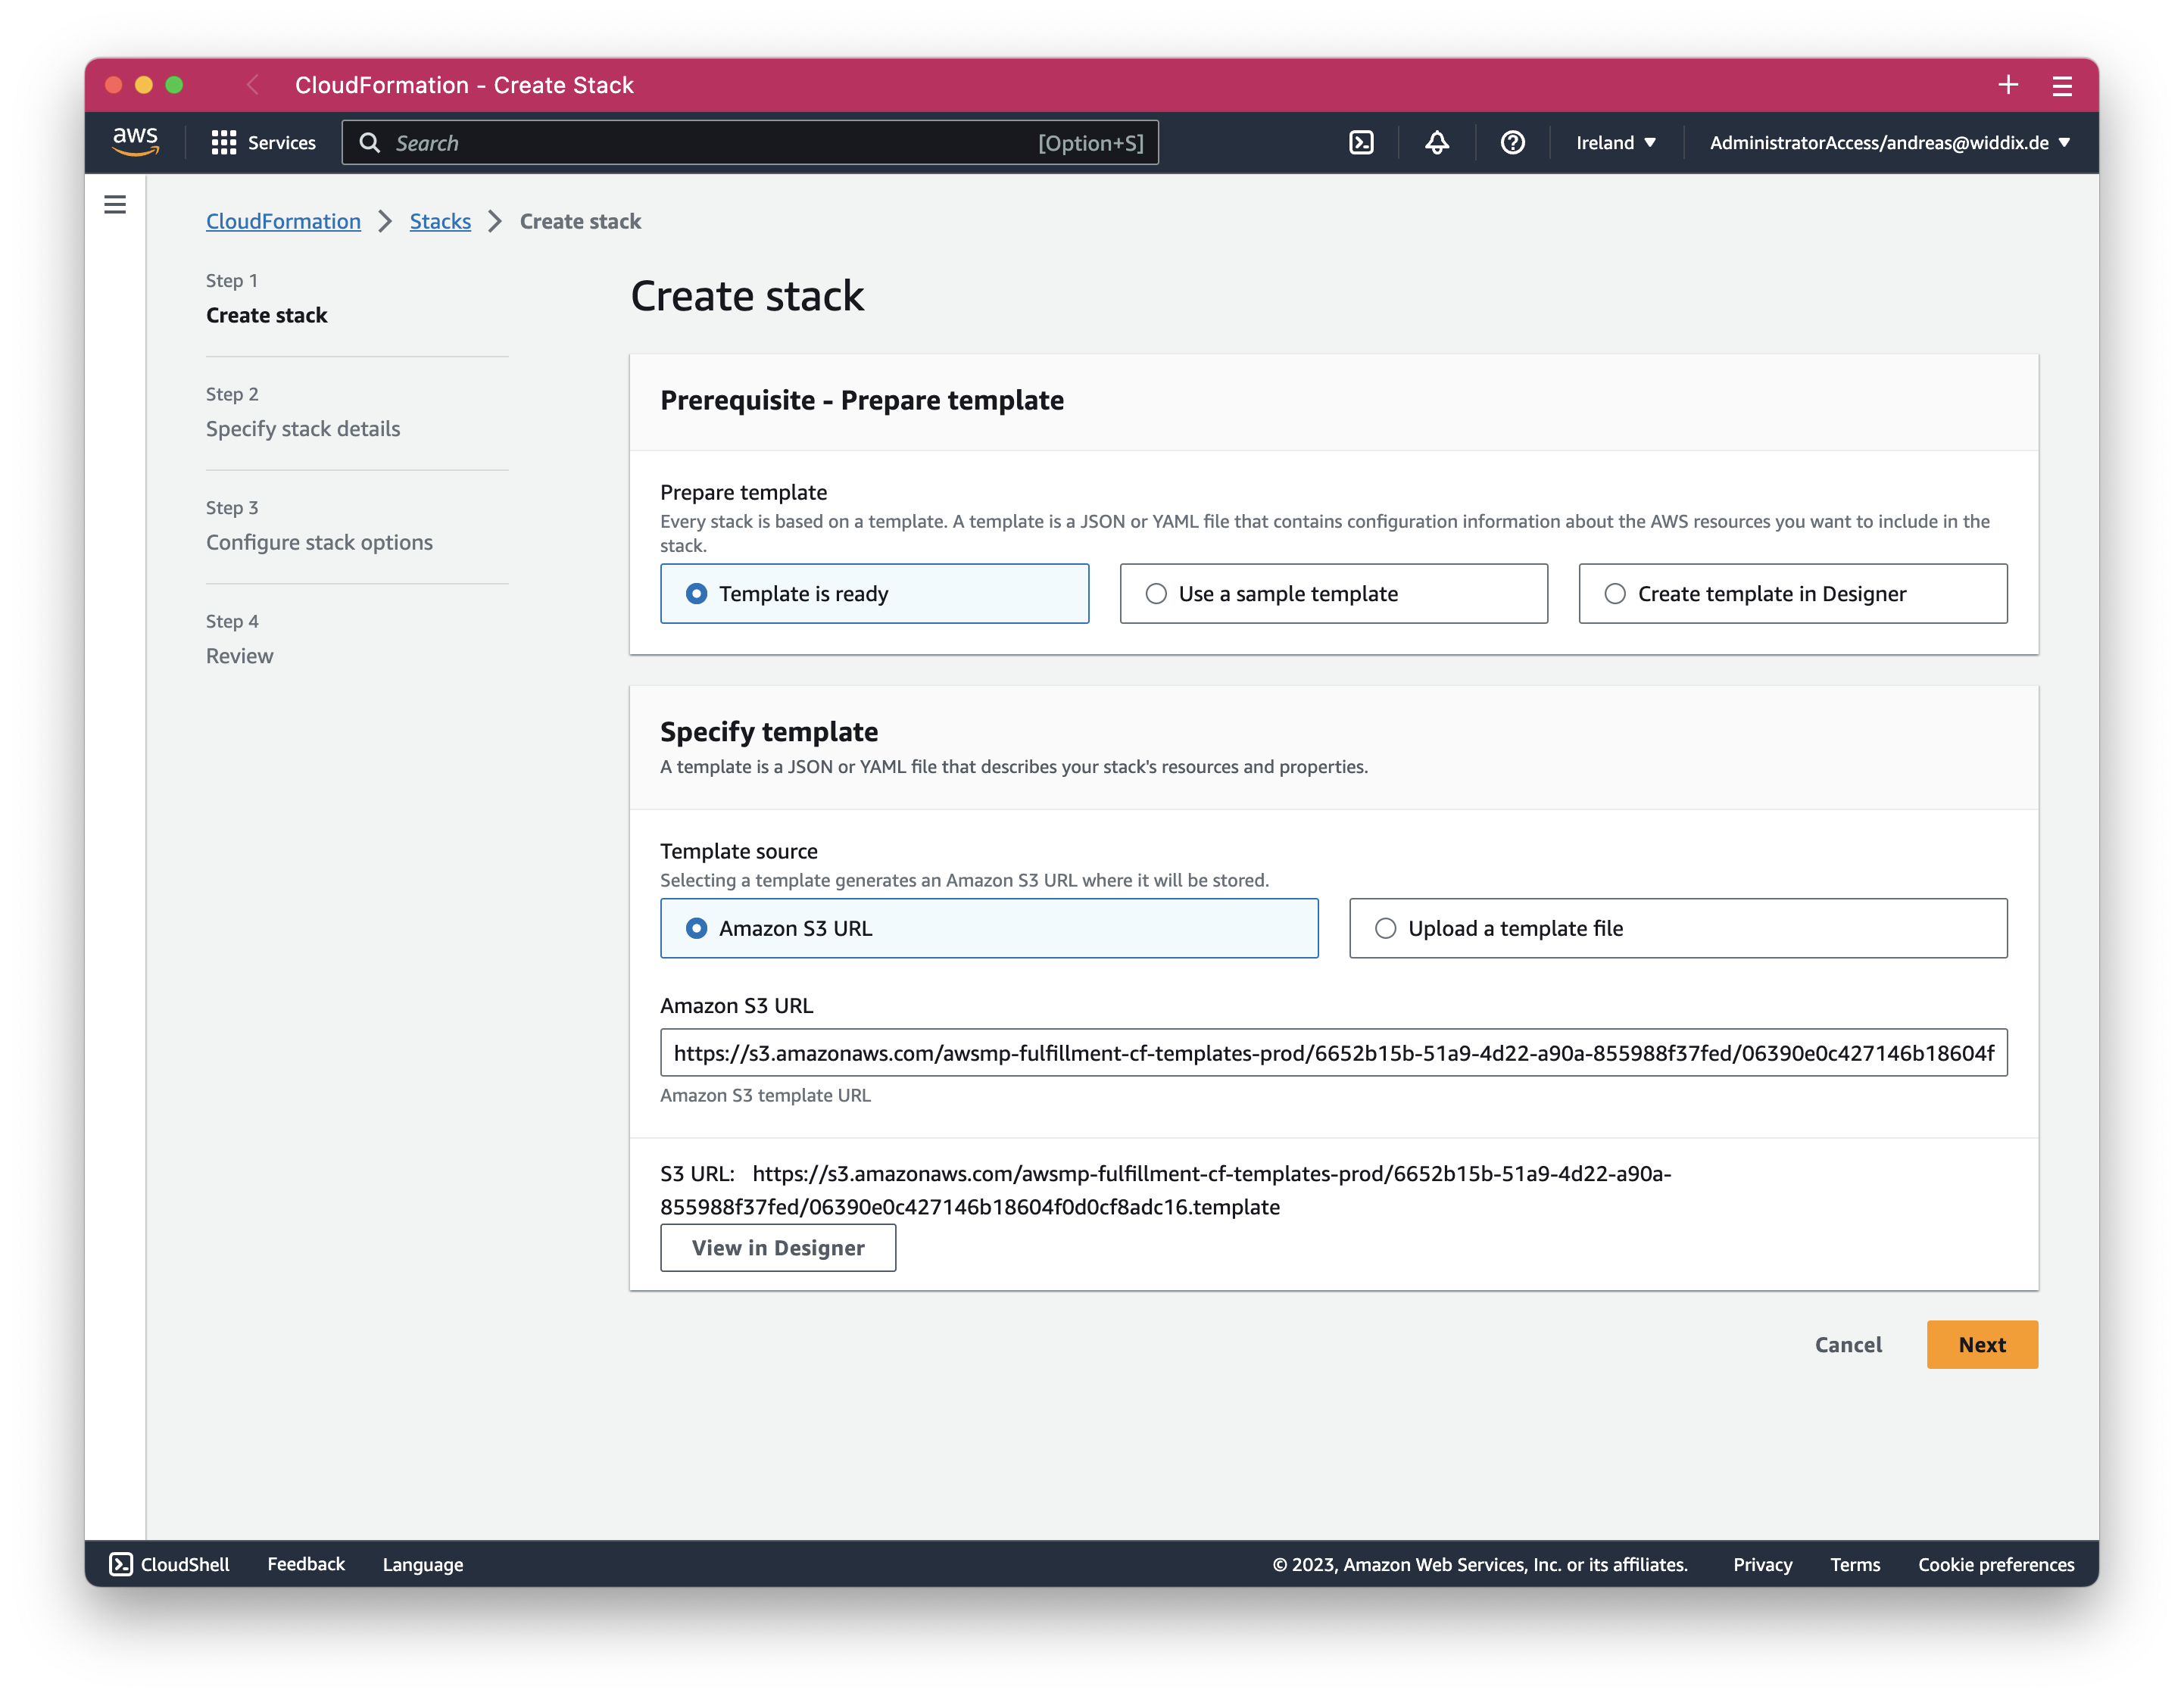
- Step Create stack
- The AWS Marketplace populates all the configuration parameters for step 1. Proceed by clicking Nex.
- Step Specify stack details
- Set a name for the CloudFormation stack. We recommend
hyperenv-github-actions. - Continue with the required configuration parameters.
- VpcId (Bring Your Own VPC only) - The VPC used when launching EC2 instances to execute GitHub runners.
- SubnetIds (Bring Your Own VPC only) - The subnets used when launching EC2 instances to execute GitHub runners. Define at least two subnets with route to Internet or NAT Gateway.
- KeyPair - The key pair allowing you to establish a SSH connection with the EC2 instance executing the GitHub runner.

- Review the rest of the parameters and go with the defaults (recommended).
- Scroll to the bootom of the page and click the Next button.
- Set a name for the CloudFormation stack. We recommend
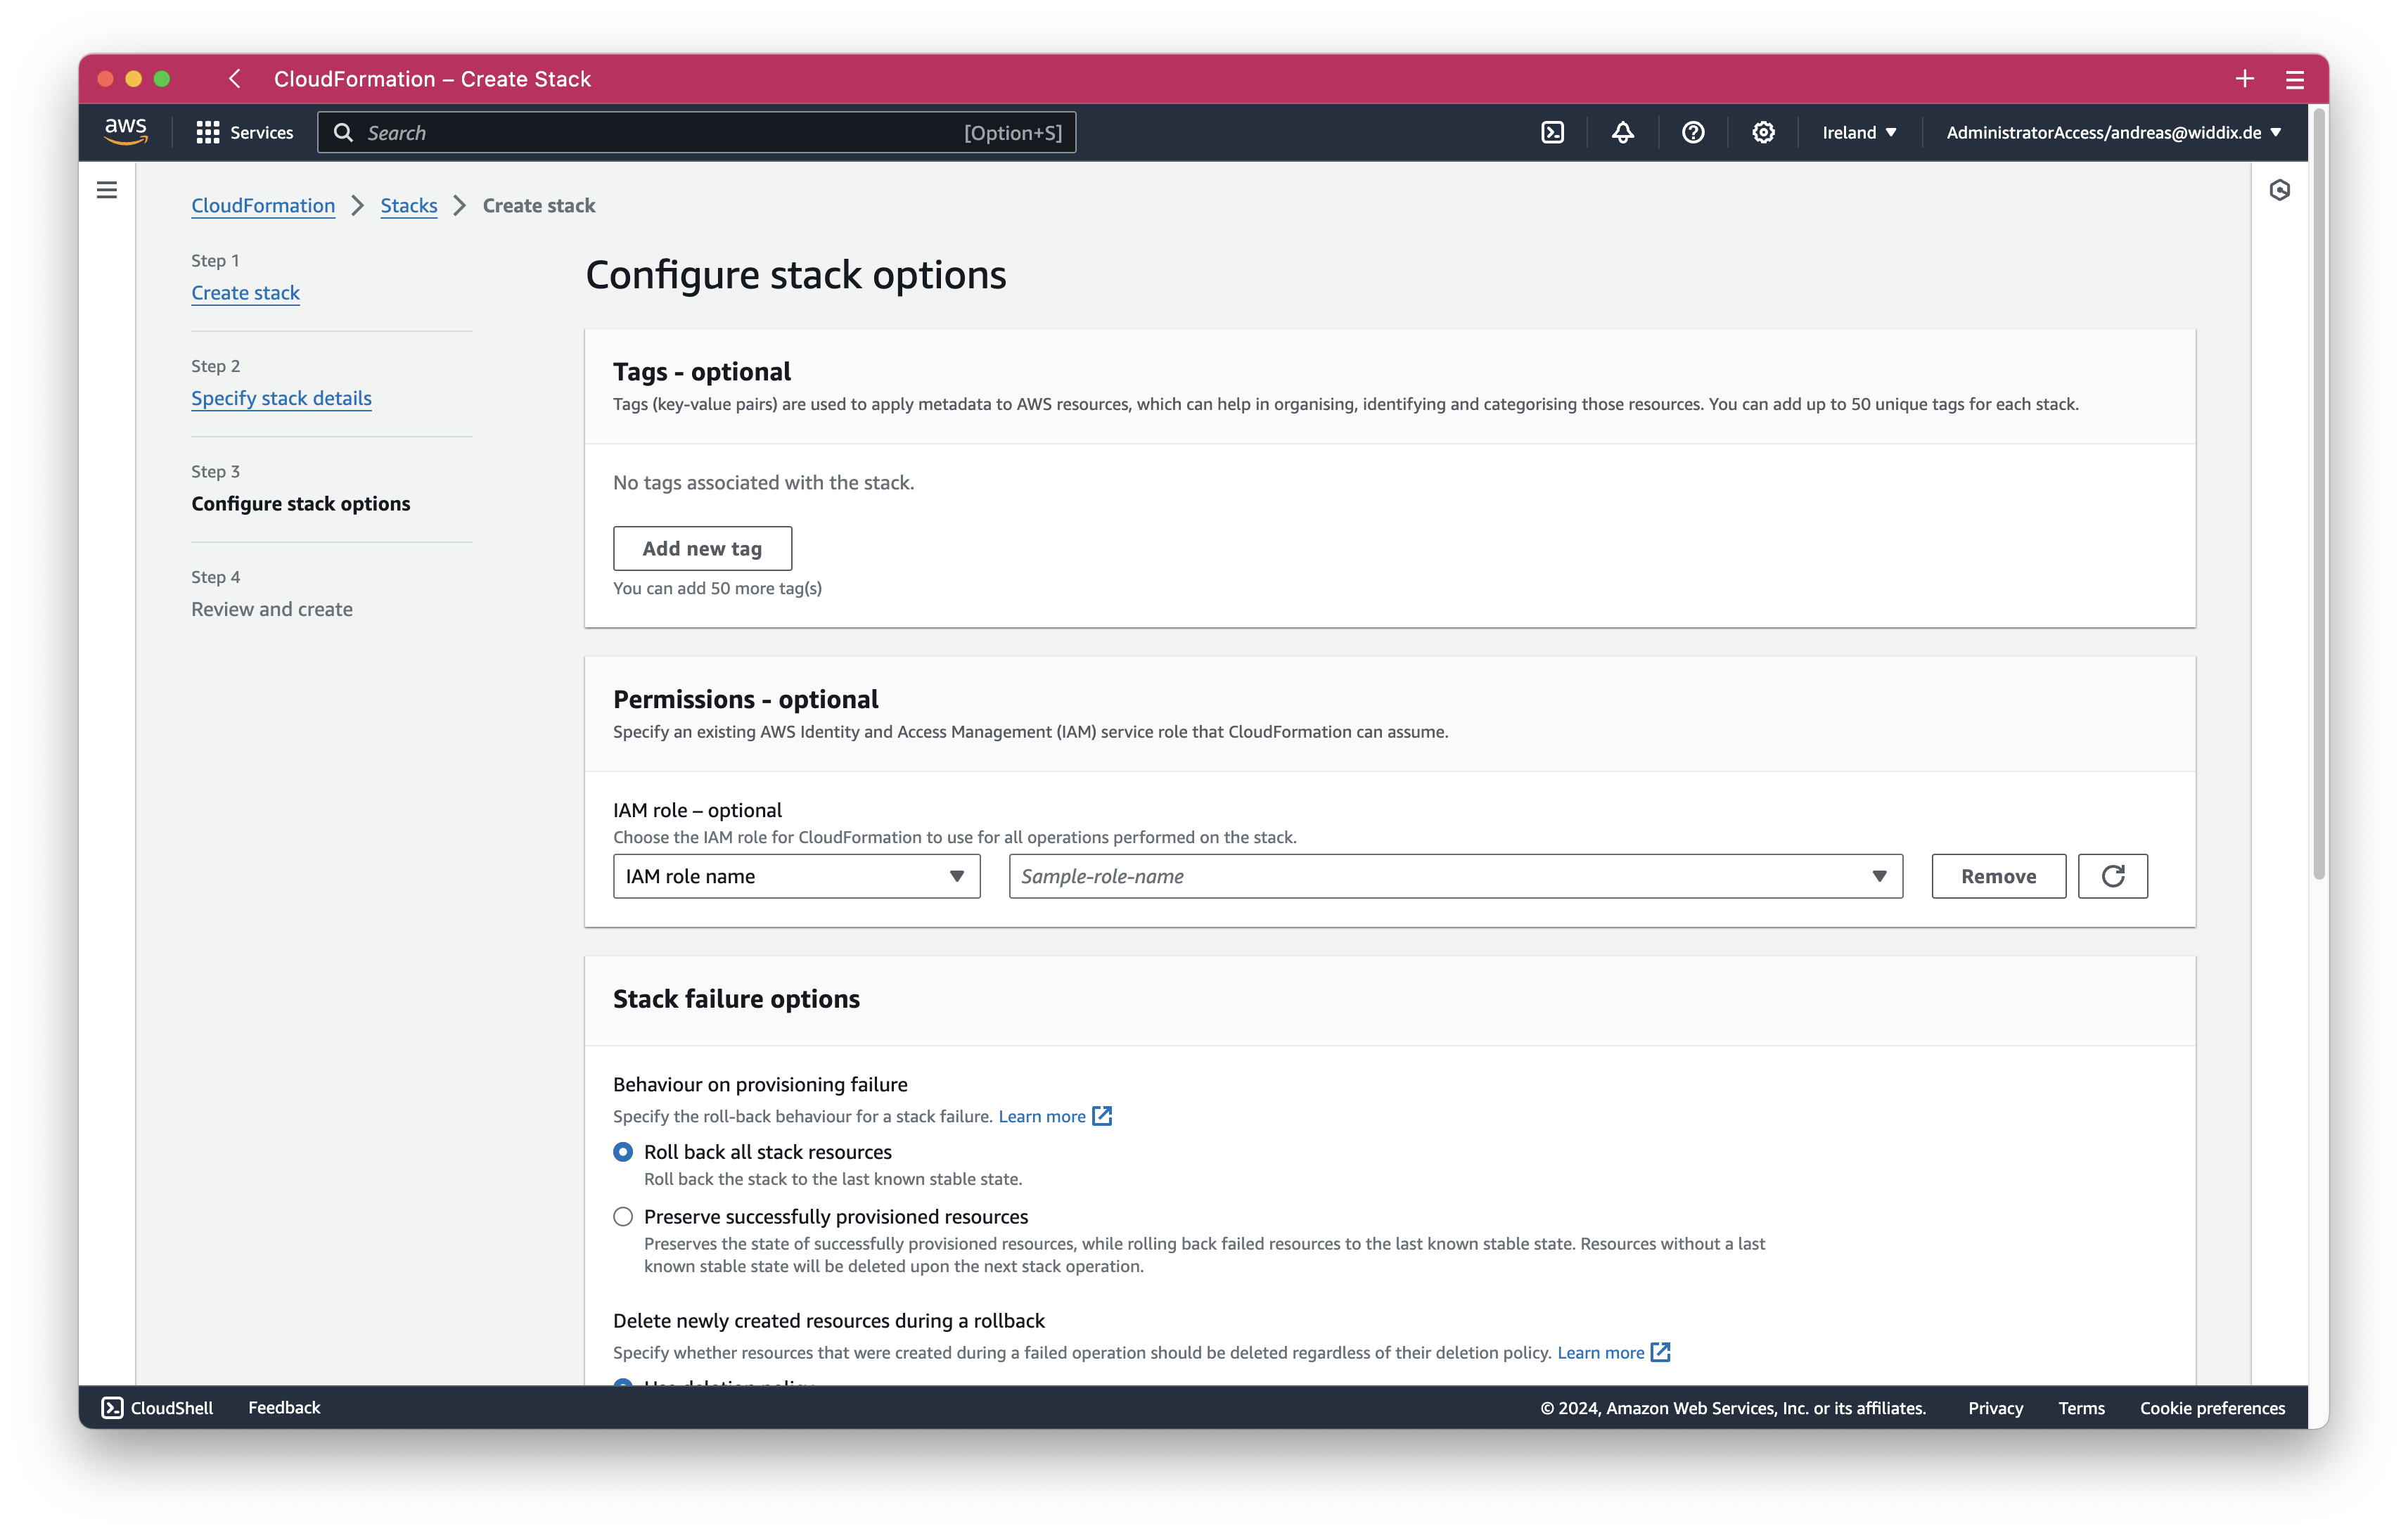
- Step Configure stack options
- Keep the default and scroll to the bootom of the page.
- Select I acknowledge that AWS CloudFormation might create IAM resources. and press the Next button.

- Step Review
- Review your configuration and scroll down to the bottom of the page.
- Click the Submit button to create the stack.
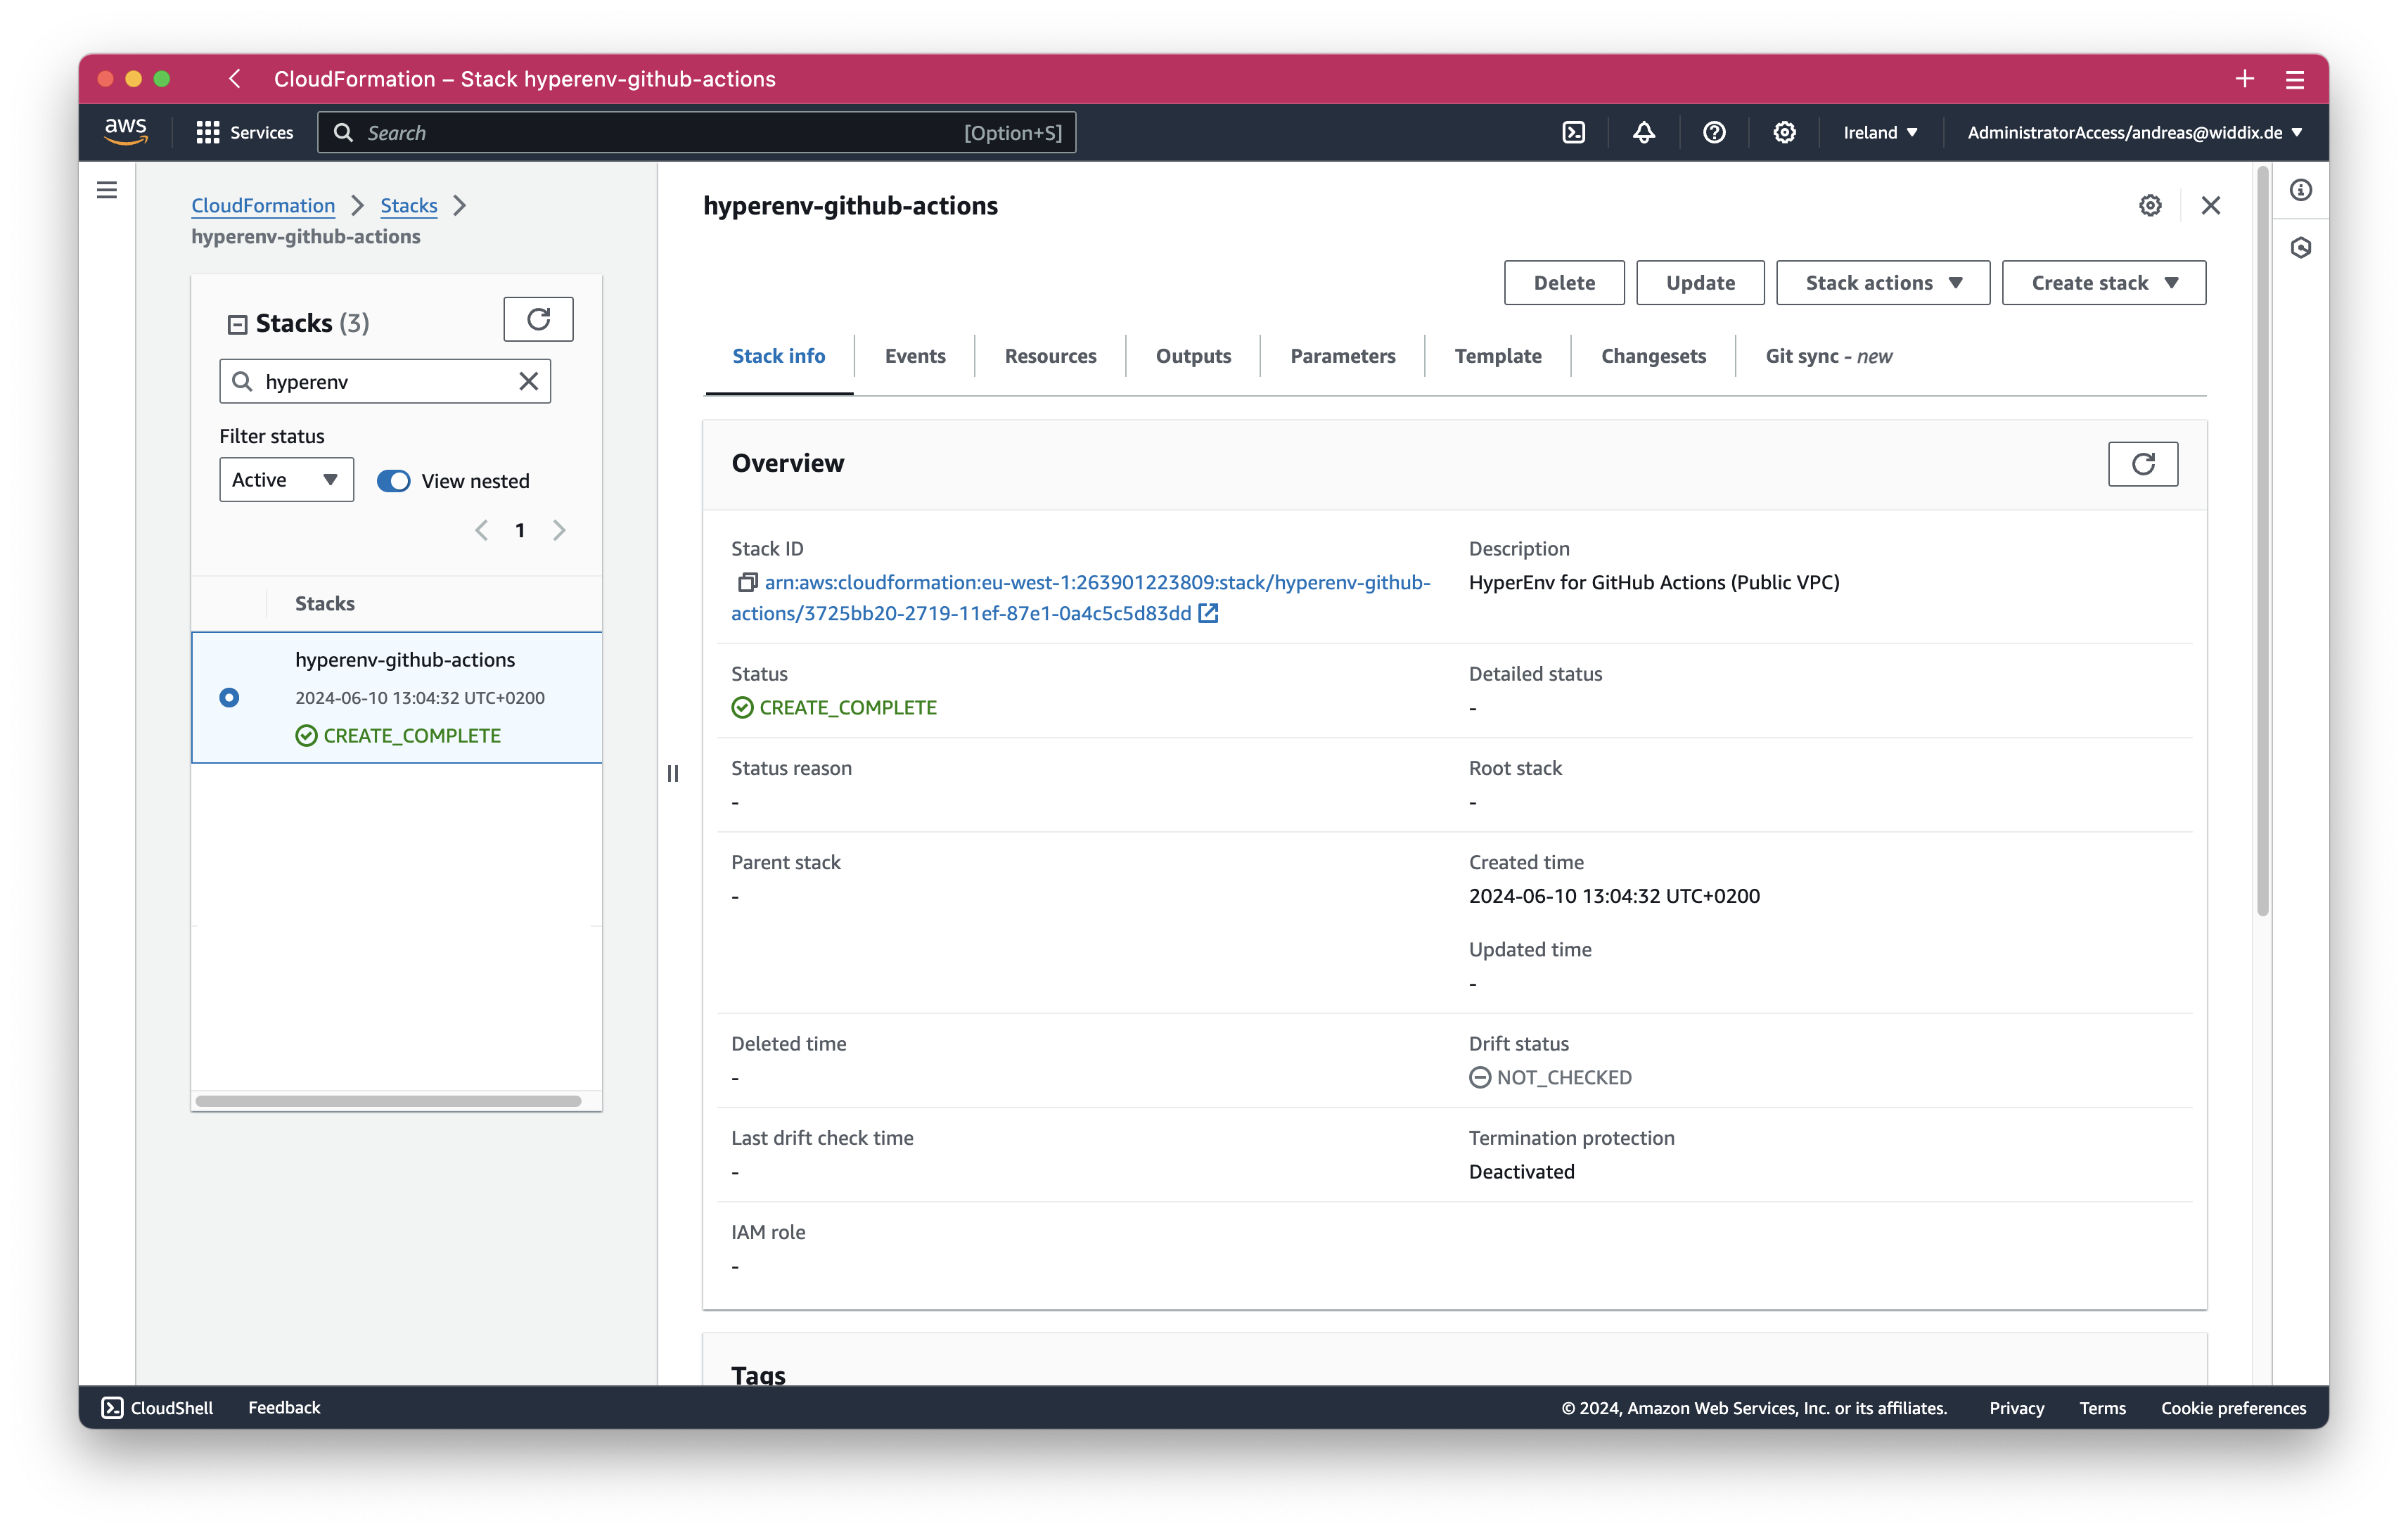
- The stack status is CREATE_IN_PROGRESS. Reload the list of stacks from time to time and wait until the CloudFormation stack
hyperenv-github-actionsswitches to CREATE_COMPLETE.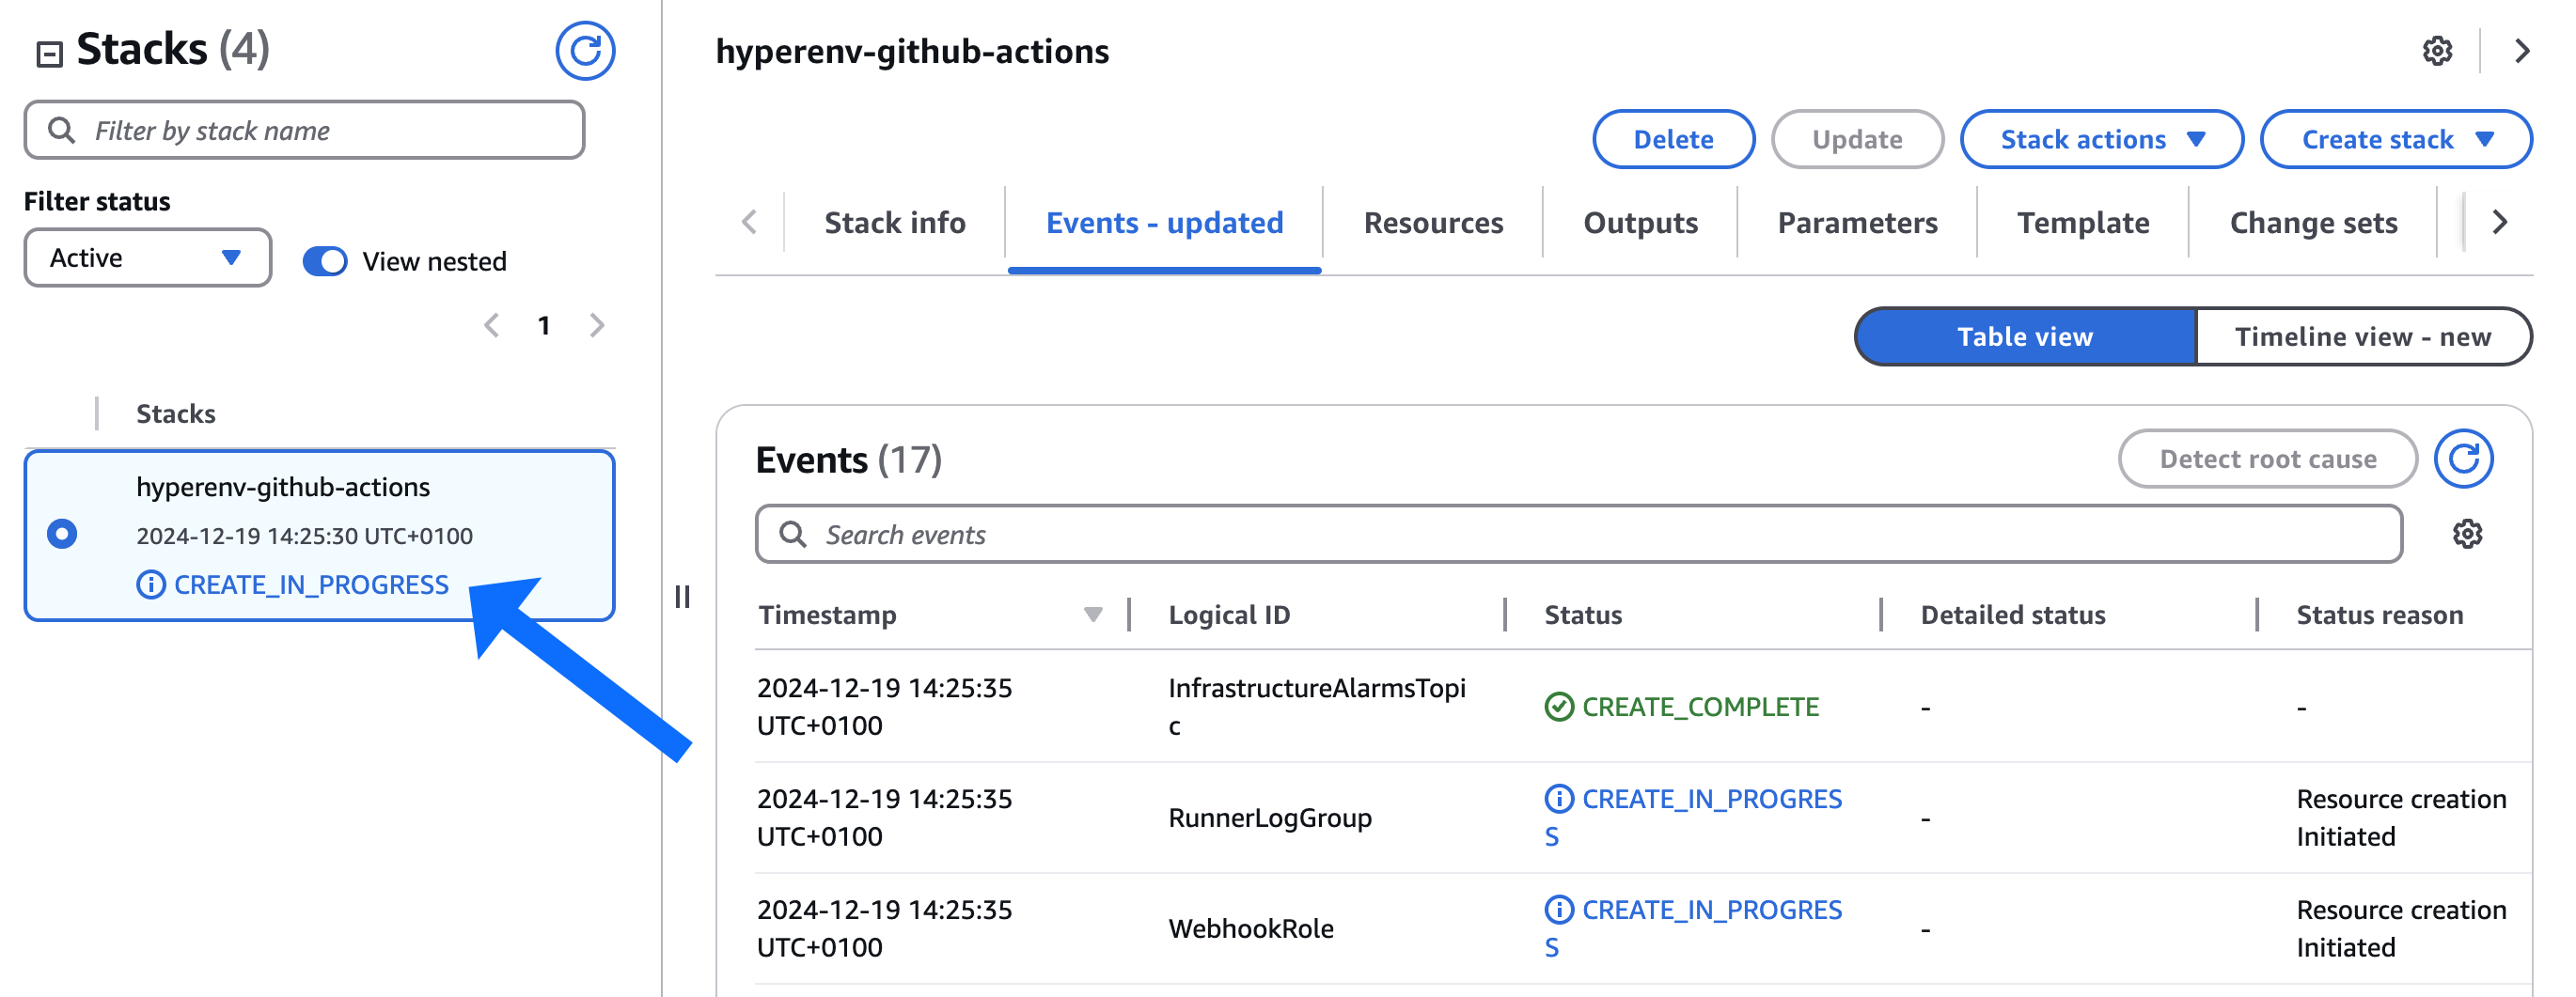
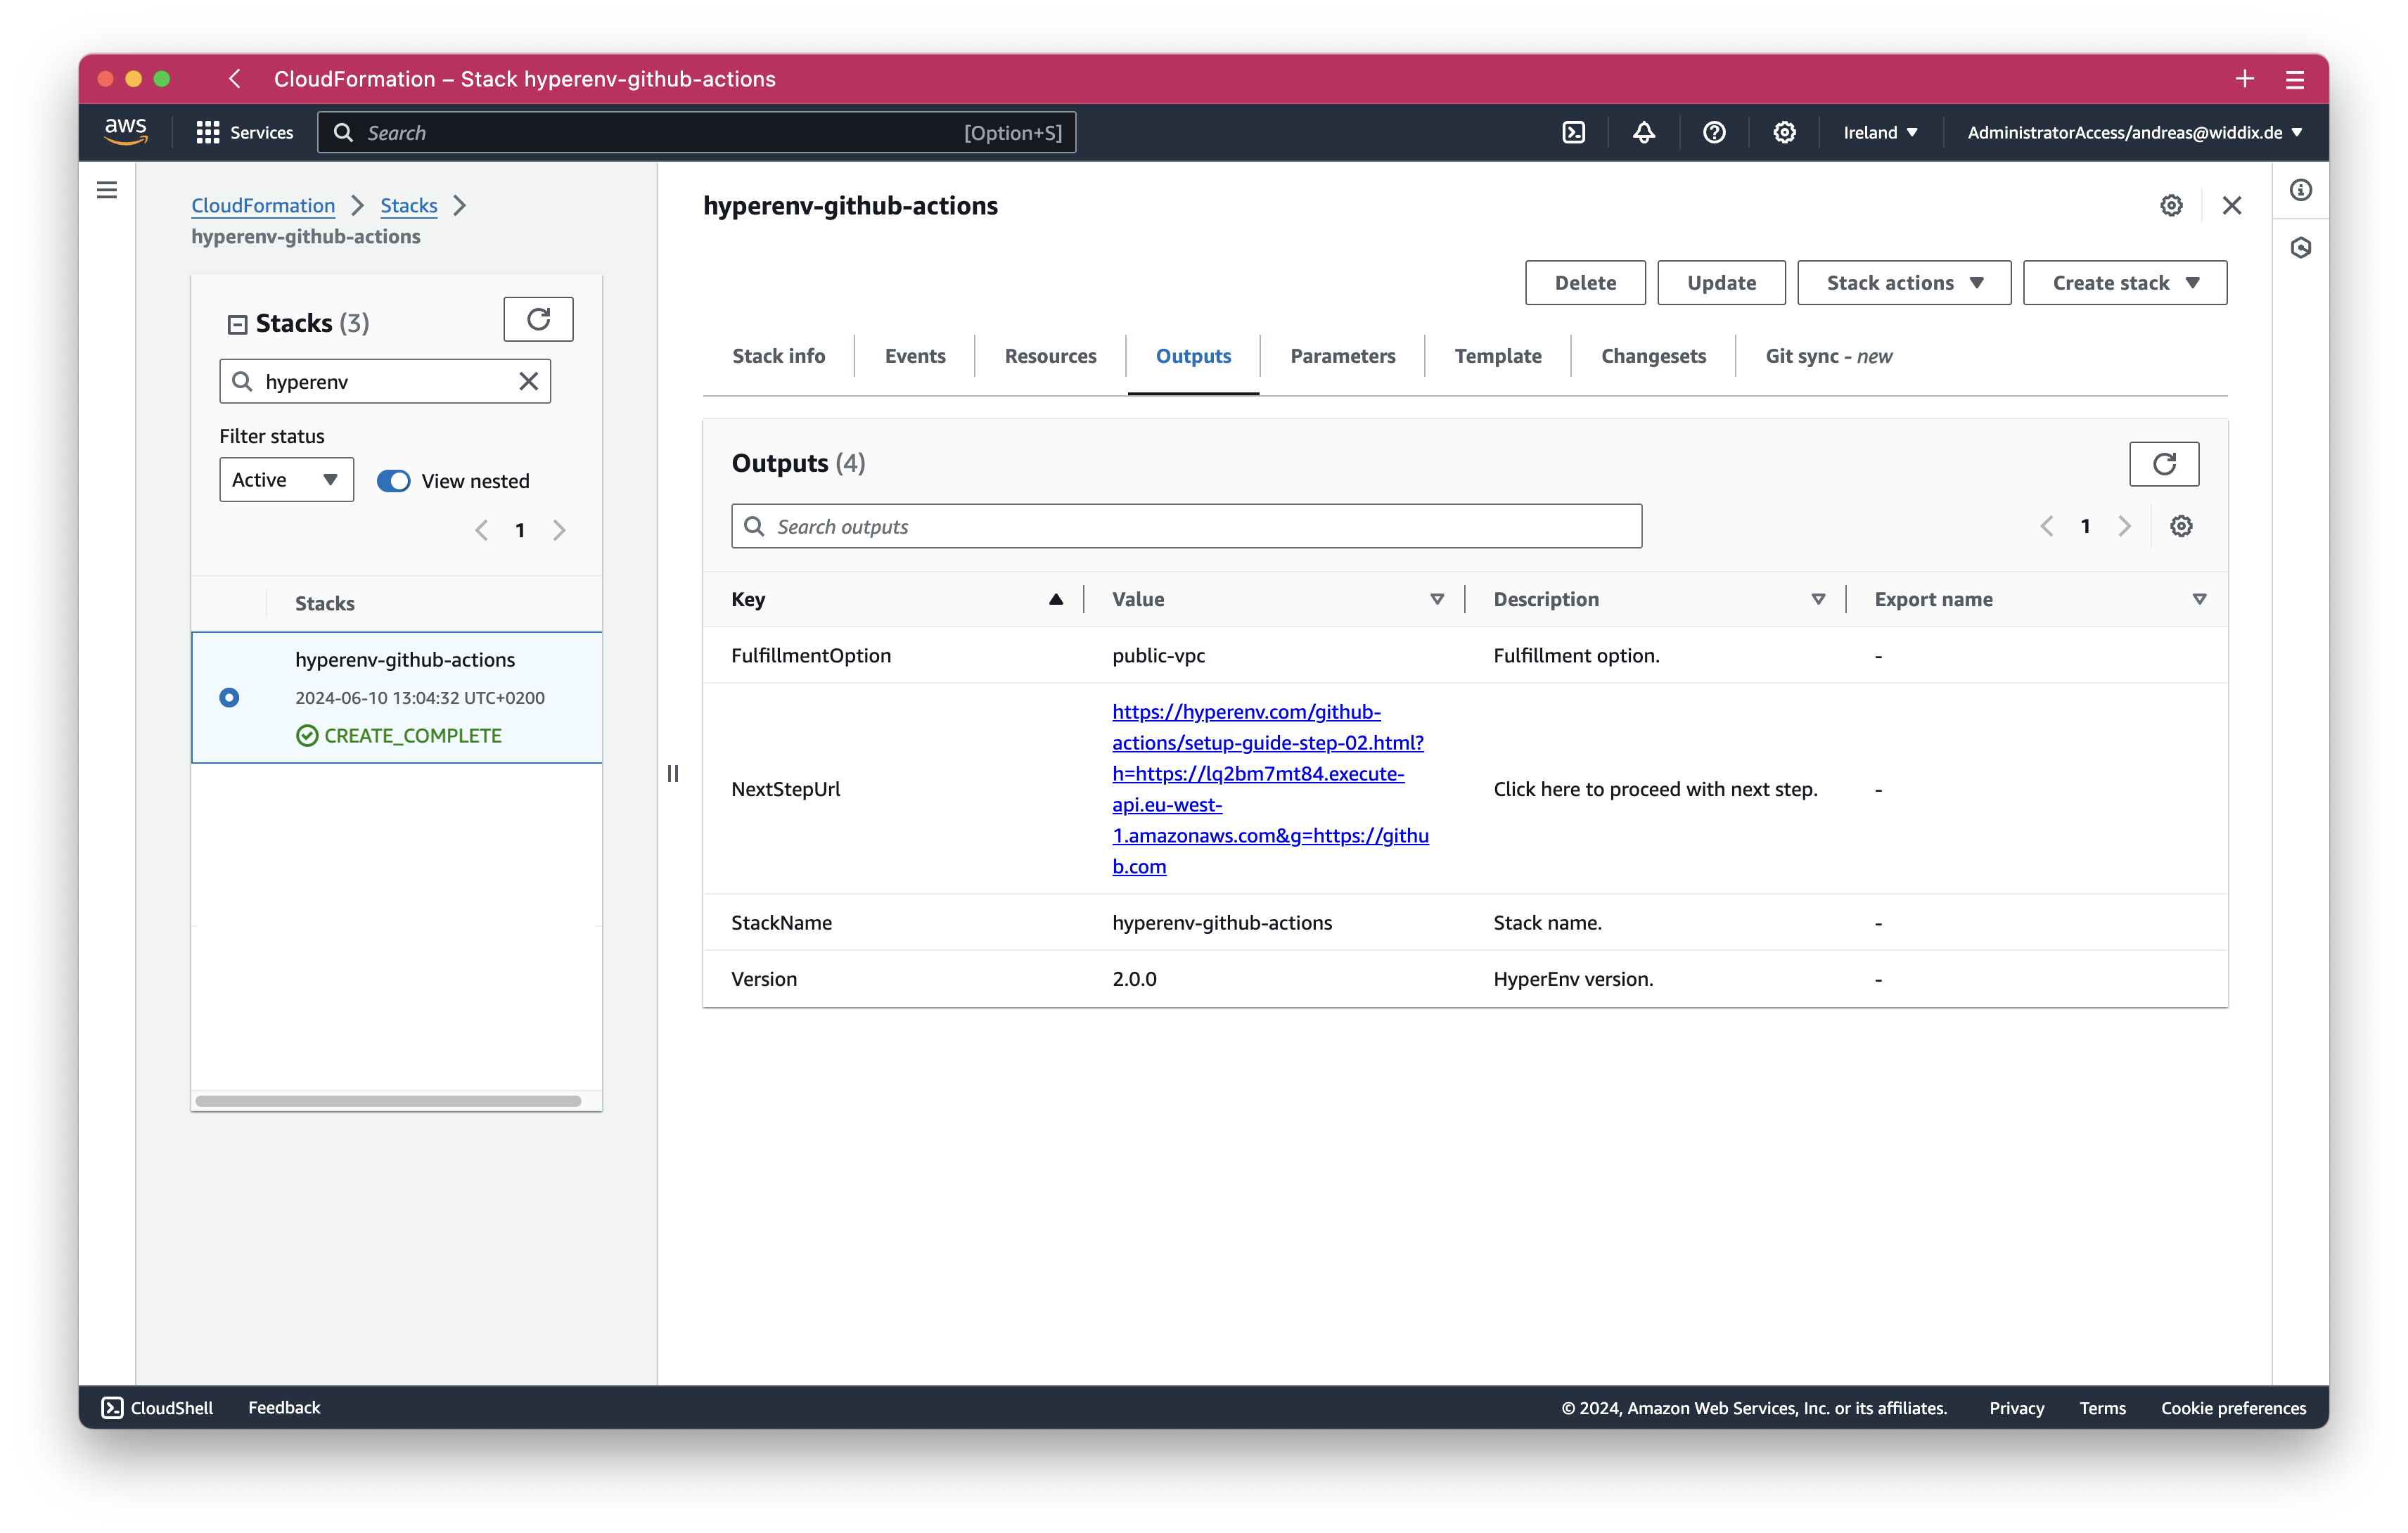
- Switch to the Outputs tab and search for the output named
NextStepUrland click the shown link.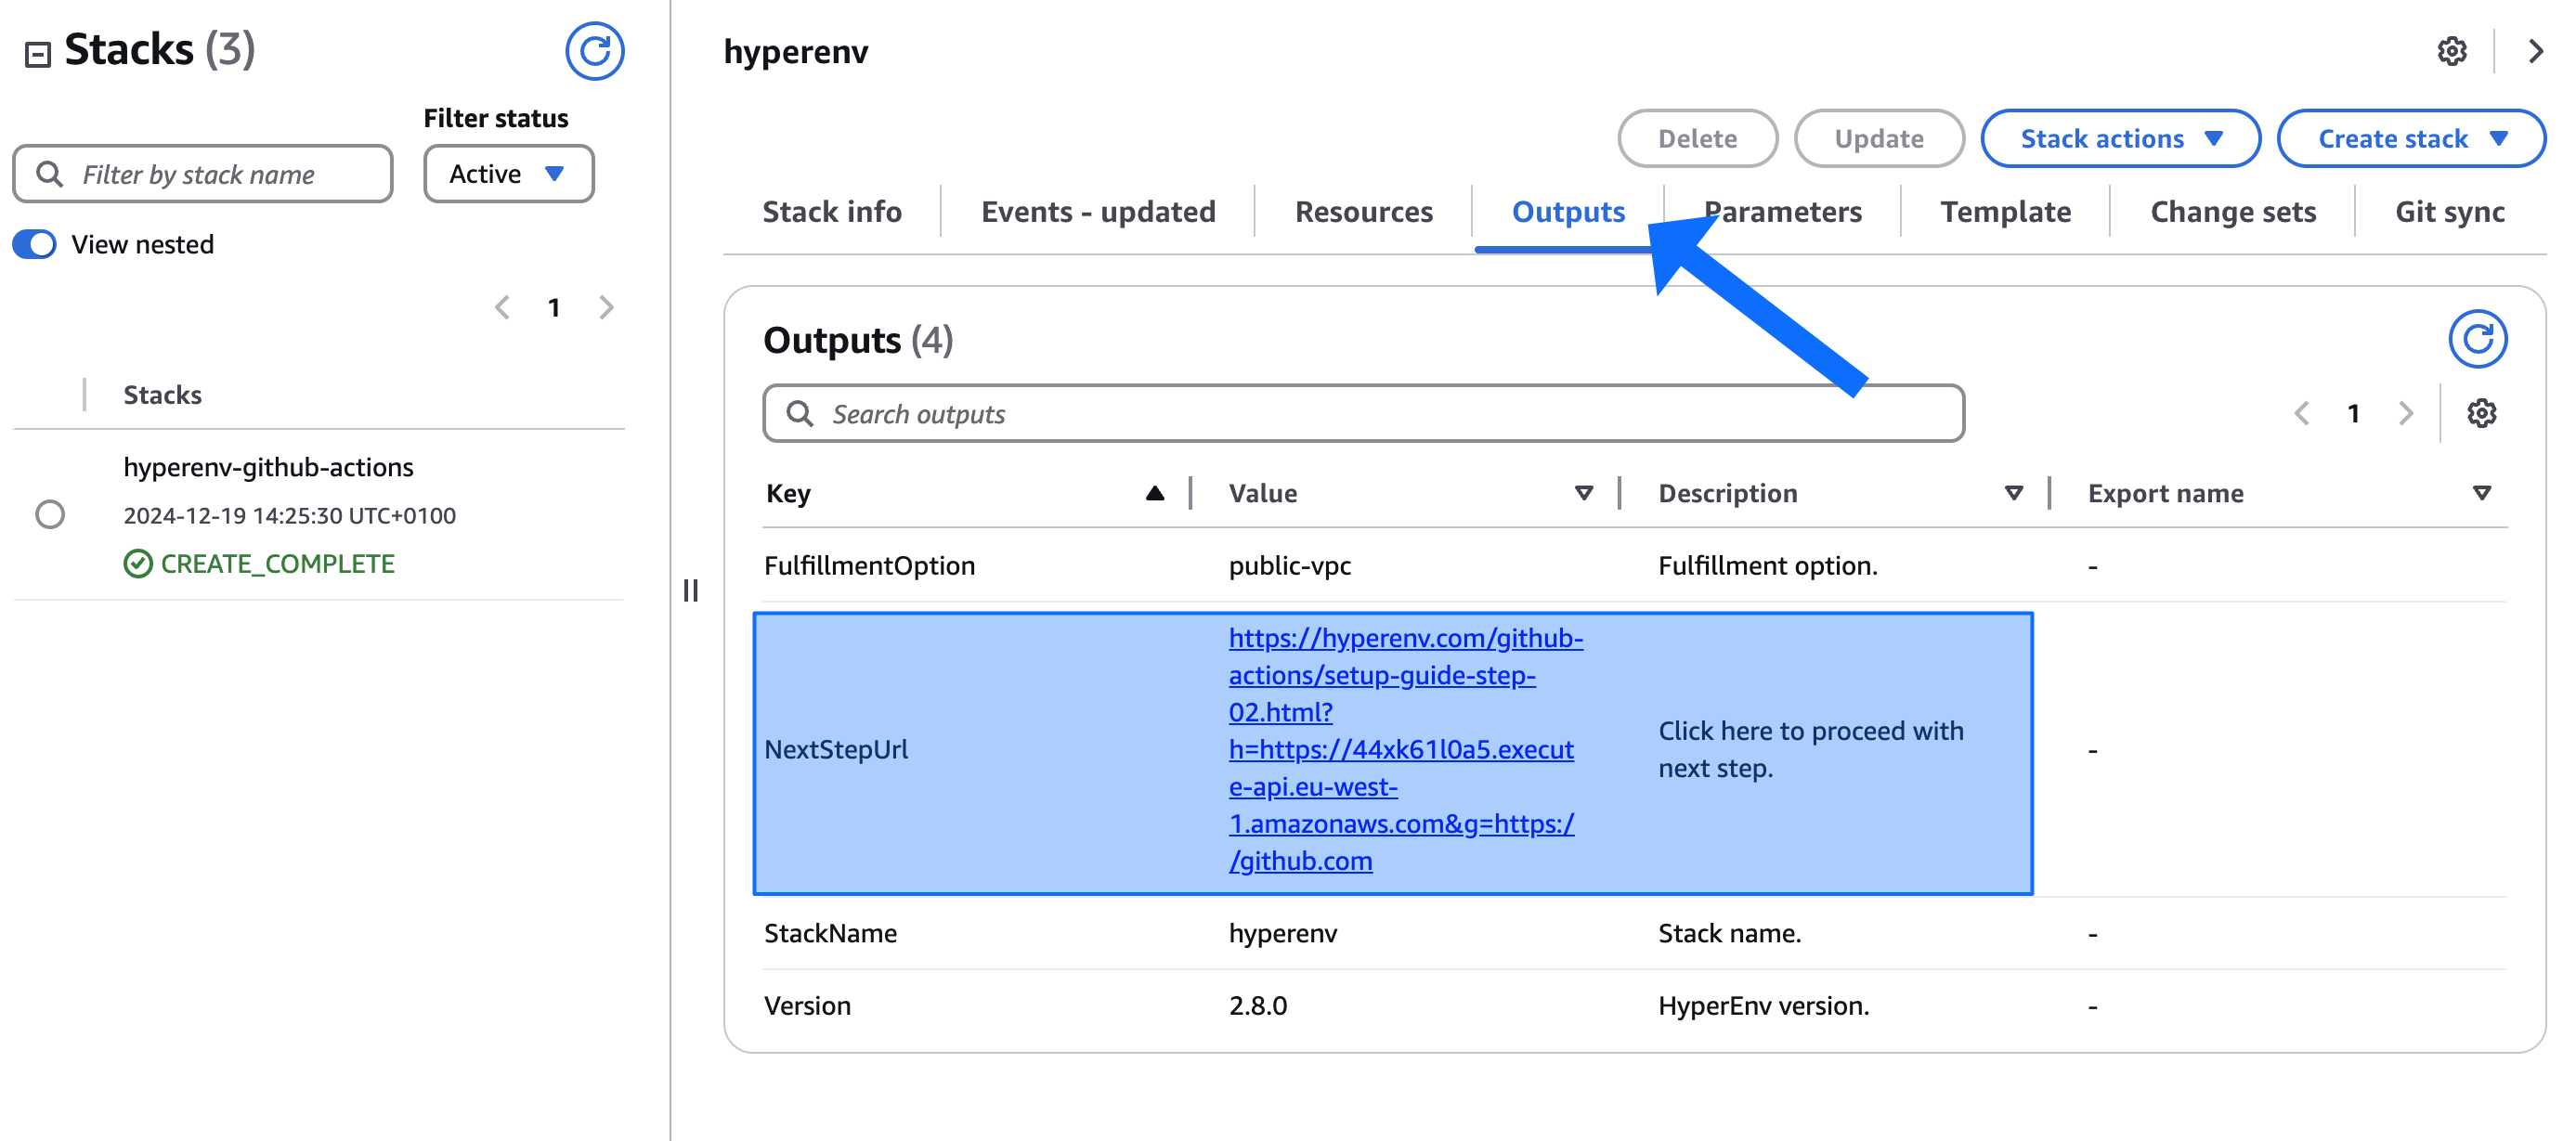
By following the NextStepUrl you will be guided through the process of installing the GitHub app next.
Help needed?
Do you need any setting up HyperEnv for GitHub Actions Runner? We are happy to help!
Book setup session Send e-mail